Flipped Classroom Videos: How to Plan a Flipped Unit
Flipped classroom videos planned well: which videos to make, how to check students watched, what to do in class instead, and options for homes without internet.
In a flipped classroom, students meet the new explanation at home, usually through a short video, and use class time for the practice, questions and discussion that normally happen as homework. Flipped classroom videos are those home explanations: two to six minutes each, one idea per video, with a few questions attached so you know who watched.
The model is simple. Making it work for a whole unit takes some planning, mainly around three things: which parts of the unit to flip, how to check the videos were watched, and what to do with the students who cannot watch at home. This article covers each, using a four-lesson science unit as the example.
What a flipped classroom changes
In a traditional lesson, the teacher explains in class and students practise alone at home. The hard part, applying the idea, happens when no one is there to help. Flipping swaps the two.
| Traditional | Flipped | |
|---|---|---|
| At home | Practice questions, often alone | Short video explanation and two or three questions |
| In class | Teacher explains; little time left to practise | Practice, problem solving, discussion, with the teacher circulating |
| Where students get stuck | At home, with no help | In class, where help is right there |
Not every lesson benefits. Flipping works best when a topic has a clear explanation that students then need to apply: a method in maths, a process in science, a set of causes in history. It works less well for lessons built around discovery, where the point is that students figure something out before being told, or for a first lesson on a topic that needs your live enthusiasm to get going.
Decide which lessons to flip
You do not need to flip a whole course. Start with one unit, and within it choose the lessons where you usually spend most of the period explaining and too little on practice.
A quick test for each lesson: write down what students do in the second half of the period. If the honest answer is "copy the example and start the questions as the bell goes", that lesson is a good one to flip.
Plan the unit: a four-lesson example
Here is a flipped plan for a short unit on volcanoes, for students aged 12 to 13.
| Lesson | Video at home (before class) | Check questions | In class |
|---|---|---|---|
| 1 | None; launch the unit live | None | Hook activity, introduce the unit question: "Why do people live next to volcanoes?" |
| 2 | Tectonic plates and their boundaries (3 min) | Name one type of boundary; what happens there? | Map task: plot volcanoes and plate boundaries, spot the pattern |
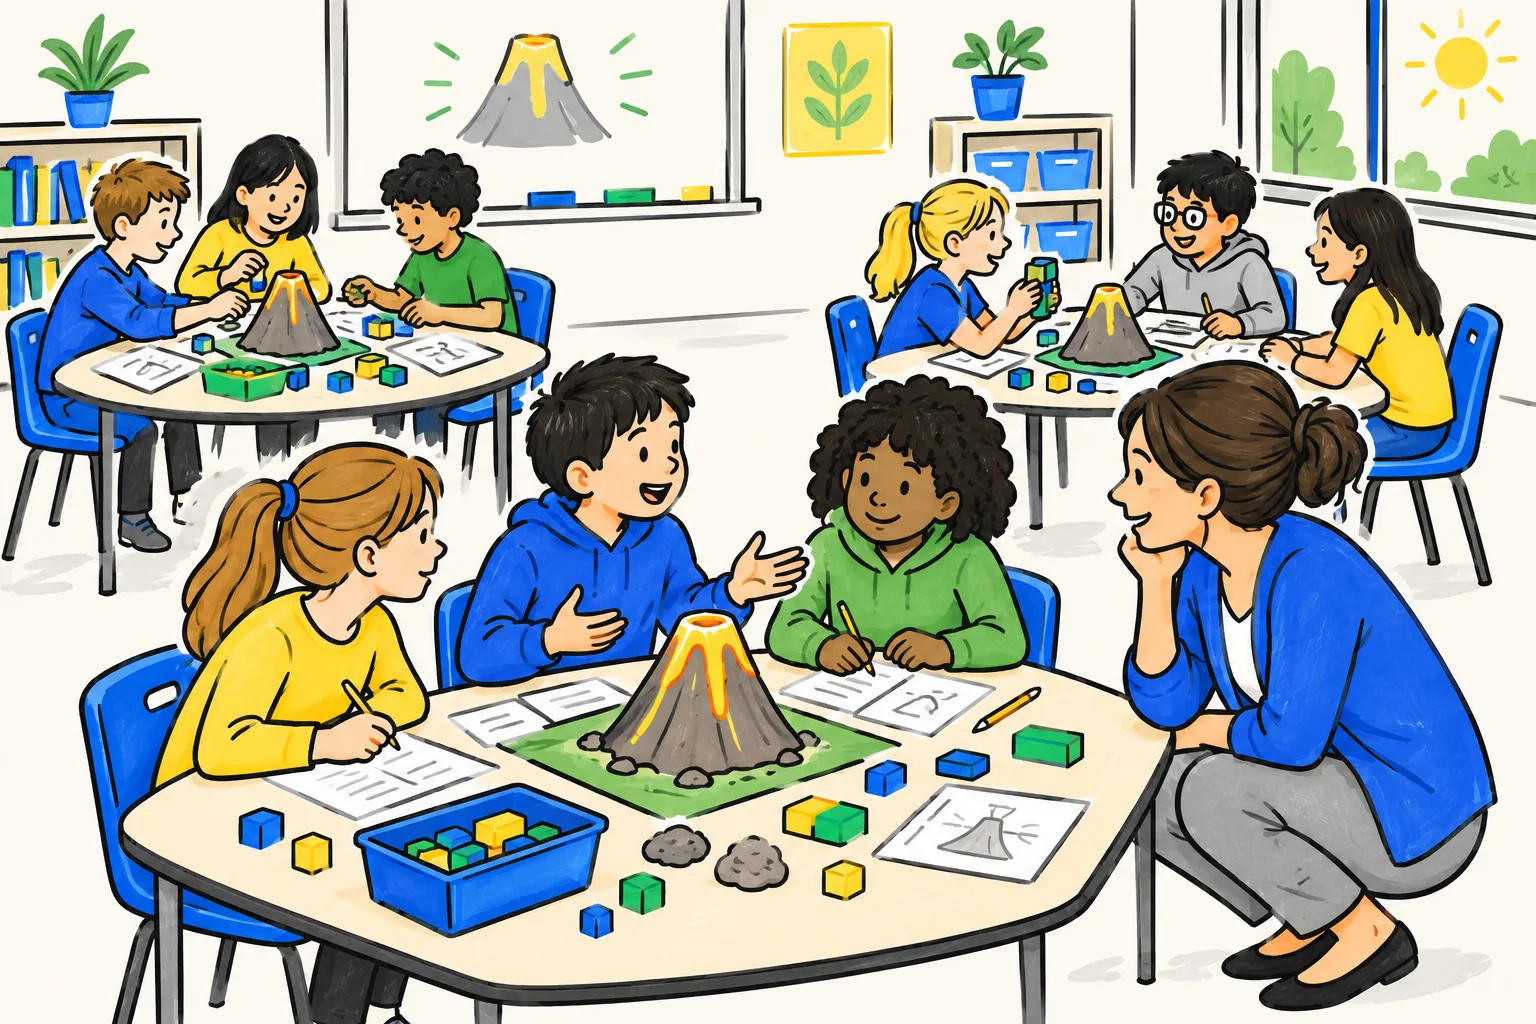
| 3 | How a volcano erupts (3 min) | What is magma? Why does it rise? | Groups build and explain a model, then answer exam-style questions |
| 4 | Why people live near volcanoes (2 min) | Give two reasons people stay | Debate or extended writing on the unit question |
Notice that lesson 1 is not flipped. Launching a unit live gives you the chance to set it up, and it gives students a reason to watch the first video.
What videos to make
Most flipped units need three kinds of video. Keep each one to a single idea.
The core explanation
This is the lesson you would normally give from the front, cut to its essentials. One idea, one concrete example, a short recap. For the volcano unit: "Magma is melted rock below the surface. It rises because it is less dense than the solid rock around it. Gas inside it builds pressure until it escapes through a vent."
Three to five minutes is plenty. If your explanation needs ten minutes, it probably holds two ideas, and two short videos will get watched more reliably than one long one.
The worked example
For any method, a video showing one complete example step by step, with the reasoning spoken aloud. Students can pause and rewatch the step they missed, which they cannot do in class.
The vocabulary or background primer
A short one or two-minute video introducing the key terms before a lesson that uses them heavily. "Crust, mantle, magma, lava, vent" in ninety seconds frees the lesson from a long list of definitions.
If you have not made lesson videos before, our step-by-step guide on how to make an educational video covers writing the objective, the example and the structure.
How to check students watched
A flipped lesson depends on students arriving with the explanation already in their heads. You cannot check that by asking "Did everyone watch it?" Use two or three short questions instead.
Good check questions are:
- Quick: answerable in under two minutes in total.
- About the idea, not the video: "Why does magma rise?" rather than "What colour was the volcano?"
- One open question at the end: "What is one thing you did not understand?" This is the most useful one. The answers tell you where to start the lesson.
Ways to collect them:
- A short online form linked under the video, which you read before the lesson.
- An entry ticket: the same questions on paper, answered in the first three minutes of class.
- Notebook check: students write the recap from the video and their answers in their exercise books.
Then sort quickly. Students who answered well start on the main task. Students who did not watch, or who got it wrong, sit together and watch the video in class (or get a two-minute recap from you) before joining the task. This keeps the lesson moving and makes it clear that watching saves time.
What to do in class instead
The class time you free up is the whole reason for flipping. Spend it on things that need you in the room:
- Practice with feedback. Students work through questions while you circulate and catch mistakes as they happen.
- Problem solving in pairs or small groups. Harder, multi-step questions that would stall a student working alone at home.
- Experiments and practical work, now with time to discuss the results.
- Discussion and debate, using the facts from the video as shared starting knowledge.
- Extended writing, with you giving feedback on paragraphs while they are being written.
Avoid re-teaching the video at the start of every lesson. If students learn that you will explain it again anyway, the video stops being watched.
Pitfalls, and how to avoid them
Some students have no internet at home
This is the most common reason flipping fails, and it is a fairness problem, not just a practical one. Plan for it before the first video goes out:
- Download the videos as files and put them on school laptops or tablets students can borrow overnight.
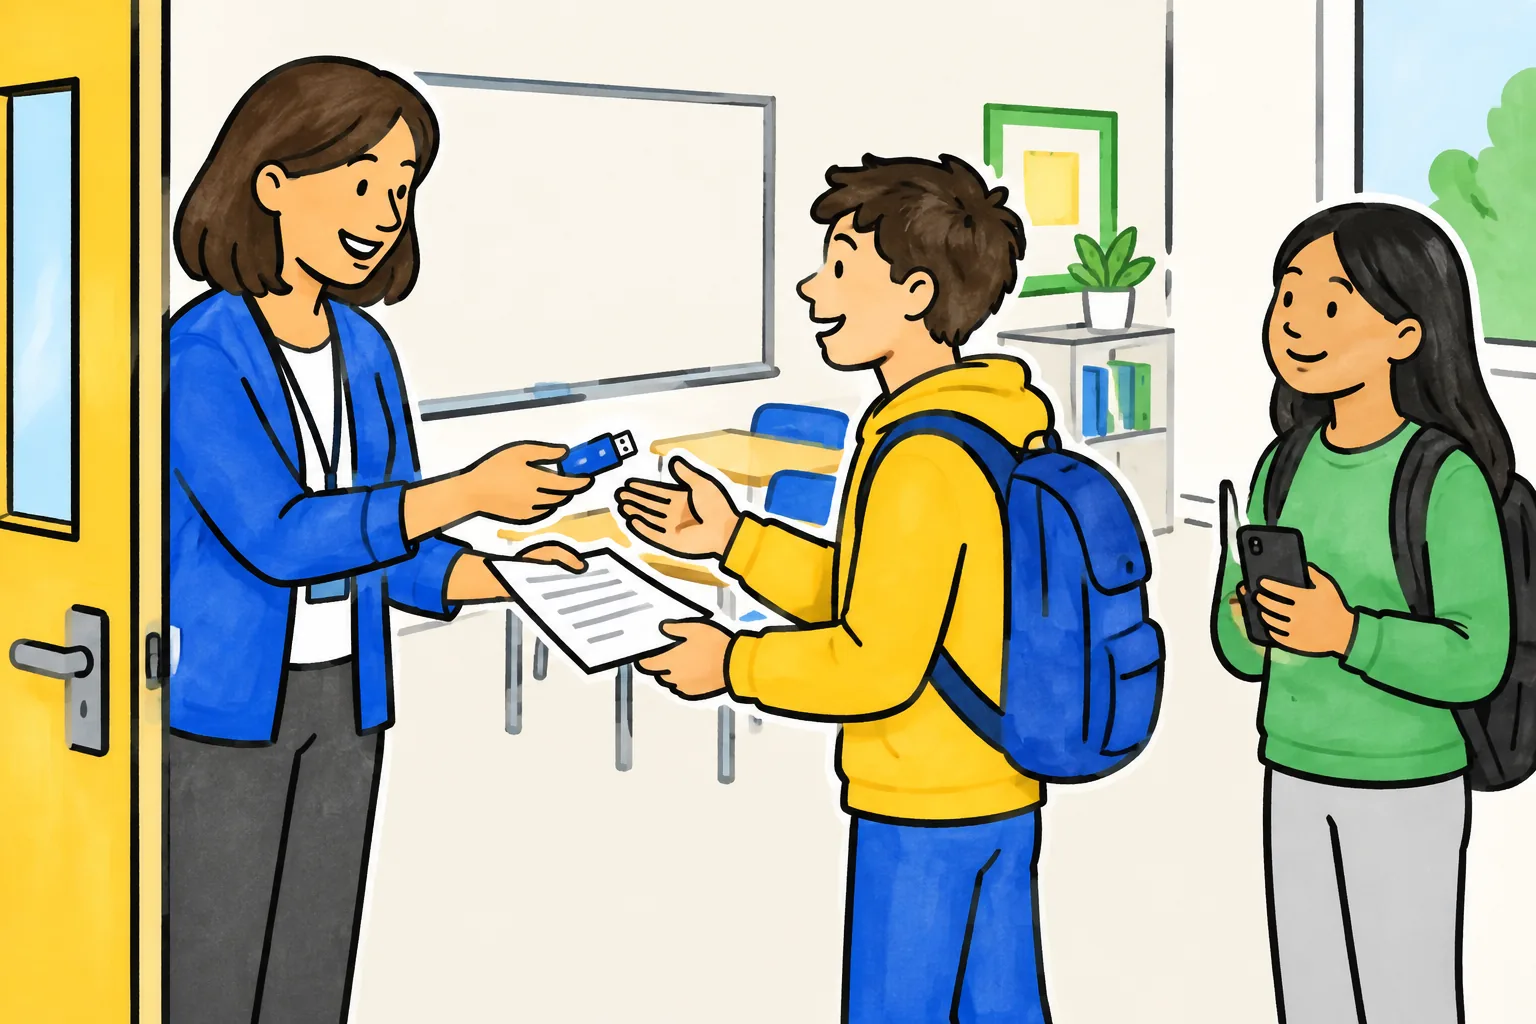
- Copy them to a USB stick or a family phone during the school day, so they play without data.
- Open a room at lunch or before school (library, computer room) where students can watch.
- Keep videos short and small. A two-minute video is easier to download on a weak connection than a fifteen-minute one.
- Give a printed summary or the script as a backup, so a student without a device can still prepare.
Videos are too long
Long videos are watched partly or not at all. Split them, and put the most important idea first.
Students watch but do not think
Passive watching is common. The check questions help, and so does asking students to pause at a set point and predict what comes next.
Accessibility
Some students need the words as well as the sound: students with hearing difficulties, and those still learning the language of instruction. If your videos have no captions, hand out the script or a summary sheet alongside them.
Making flipped classroom videos with KolaVid
If recording a voiceover for every lesson is what stops you flipping, KolaVid can make the videos from your notes. You type a prompt, paste a lesson plan, or upload a PDF, Word or PowerPoint file, and it produces a narrated whiteboard video in which each drawing appears as the narrator says it.
For the volcano unit, a prompt for lesson 3 might be: "Explain to 12 and 13 year olds how a volcano erupts. Magma is melted rock that rises because it is less dense than the solid rock around it; gas pressure builds until it escapes through a vent. Use one volcano as the example. End with a two-sentence recap. 3 minutes."
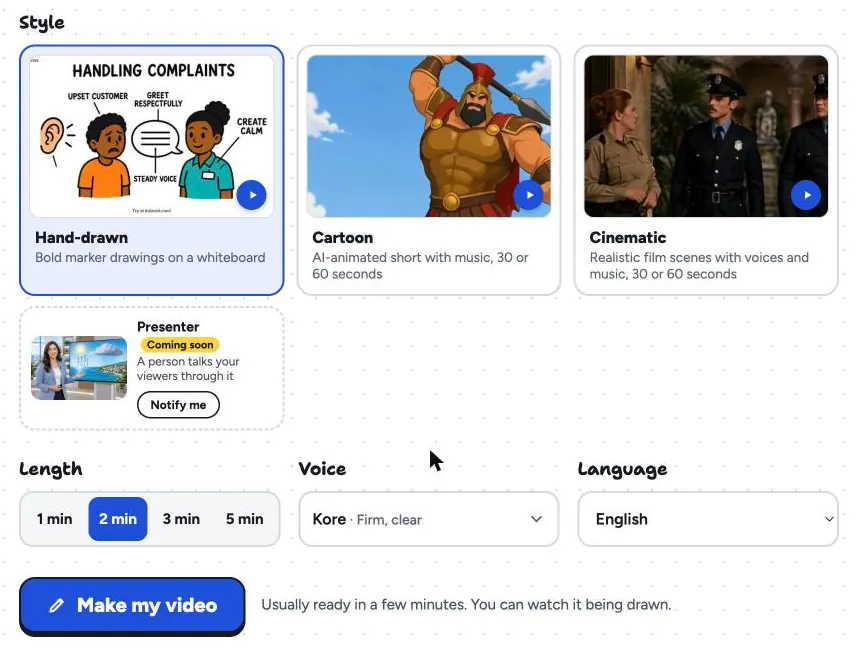
Choose the length (1, 2, 3 or 5 minutes; free videos go up to 2), a voice and the narration language, which helps when you want a version in a student's home language. Then download the MP4, which is what makes the offline options above possible, or share a link. One limit matters for flipping: there is no editing timeline, so you fix a video by changing the prompt and making it again. Whiteboard videos come with captions that students turn on with CC; check them, and keep the script handy for students who need the text. You can see sample lessons on the teachers page, and if you mostly start from existing handouts, the guide to turning documents into whiteboard videos shows how.
FAQ
How long should flipped classroom videos be?
Two to six minutes for each idea is a good range. Short videos are more likely to be watched in full, and easier to rewatch before a test. If a topic needs more time, make a short series rather than one long video.
What if students simply do not watch?
Check with two or three short questions, and let the result shape the lesson: students who watched start the task, students who did not watch it in class first. When watching clearly saves time, more students watch.
Is the flipped classroom suitable for younger pupils?
It can be, with shorter videos (one to two minutes), parents told what to expect, and the watching done in class for the first few weeks. Many primary teachers use a partly flipped approach, with the video watched together at the start of the lesson.
Do I have to make all the videos myself?
No. Good existing videos can work if they match your objective and your vocabulary. Making your own means the words and examples match exactly what you will use in class, which helps students connect the two.
Try one flipped lesson first
Pick one lesson in your next unit where you always run out of practice time. Make one short video, write three check questions, and plan the class activity that the saved time allows. One lesson tells you more than a term of planning. Older students can take the idea further and turn their own notes into study videos.