How to Create a Video Course: Plan, Format, Produce
How to create a video course: plan short lessons, pick a format for each (talking head, screen recording or explainer) and produce them on a small budget.
To create a video course, start with what a learner should be able to do at the end, break that into modules and then into short lessons of about two to eight minutes, each teaching one thing. Then choose a format per lesson rather than per course: a talking head for welcome and opinion, a screen recording for software steps, filmed demonstration for physical skills, and a drawn or animated explainer for concepts and processes. Script each lesson, produce in batches, and check with a few real learners before you launch.
Most first courses go wrong in one of two ways: long recordings of the creator talking through slides, or months spent on production before anyone has seen a lesson. This guide gives you a plan that avoids both, with a sample course outline you can copy.
Step 1: Define the outcome, then the modules
Write one sentence: "By the end of this course, a learner can..." Make it an action you could check.
- "...set up a simple bookkeeping system for their freelance business and do their monthly accounts in an hour."
- "...plan, plant and look after a small vegetable bed through one season."
- "...build and publish a basic website without code."
Then list the three to seven big milestones a learner passes on the way. Those are your modules. Under each one, list the specific things they need to understand or do. Those are your lessons.
A useful check: if a lesson's title starts with "Introduction to" or "Overview of", it is probably too vague. Name the action instead: "Sort your expenses into five categories".
Step 2: Keep each lesson short and single-purpose
Online course videos work best when each lesson teaches one idea or one task. Short lessons are easier to finish, easier to rewatch when a learner gets stuck, and far easier for you to update. When something changes, you replace one five-minute lesson rather than re-recording a 40-minute one.
Rough guidance:
- Concept lessons: 2 to 5 minutes.
- Step-by-step tasks: 3 to 8 minutes, split if longer.
- Worked examples and walkthroughs: up to 10 to 15 minutes, because the learner follows along.
If you are unsure, our piece on short versus long explainer videos covers how length affects attention and updates.
Step 3: Choose the format lesson by lesson
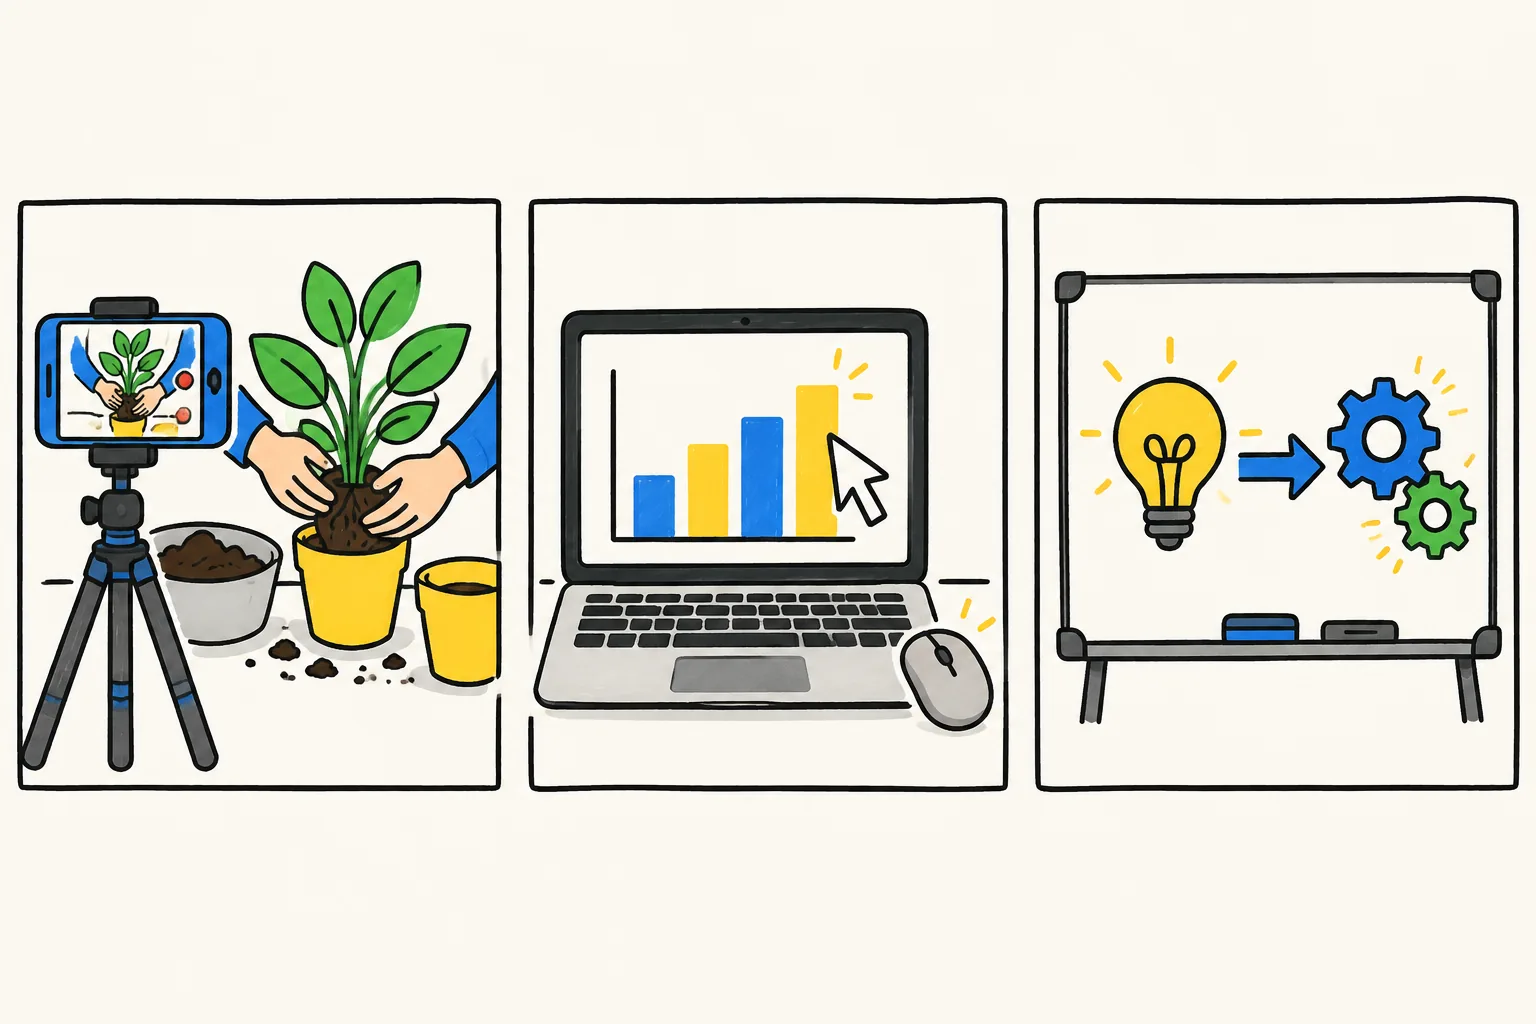
This is the decision that saves the most time. There is no single best format for a whole course; each type of lesson suits a different one.
| Lesson type | Best format | Why |
|---|---|---|
| Welcome, your story, why the course exists | Talking head (you on camera) | Builds trust; learners want to see who is teaching them |
| Software steps, spreadsheets, websites | Screen recording with voiceover | The learner needs to see the exact clicks |
| Physical skills (cooking, crafts, exercise, repairs) | Filmed demonstration | Hands and real objects must be visible |
| Concepts, processes, "why it works" | Drawn or animated explainer | One idea at a time on a clean screen is easier to follow than a talking face |
| Frameworks, comparisons, checklists | Explainer or slides with voiceover | Structure matters more than the presenter |
| Worked examples | Screen recording or whiteboard, built up step by step | Learners need to see each step appear |
| Recaps and module summaries | Short explainer | A 60-second recap is quick to make and rewatch |
Mixing formats also helps learners. A course that alternates a short explainer, a screen recording and a quick talking-head tip feels less tiring than an hour of the same shot. For more on when drawings beat slides, see whiteboard video versus slides.
Step 4: Script every lesson
Even talking-head lessons are better with a script or a tight bullet list. Rambling is the main reason course videos run long.
A lesson shape that works for most topics:
- What you will be able to do after this lesson (one sentence)
- Why it matters, with a real situation
- The teaching: the concept or the steps, in order
- One worked example
- The common mistake, and how to avoid it
- Recap and what is next
Speech runs at roughly 130 to 150 words a minute, so a four-minute lesson is about 520 to 600 words. Read the script aloud once before recording; sentences that look fine on paper often trip you up when spoken.
Step 5: A production workflow one person can keep up
Batching is what makes a course finishable.
- Write all scripts for one module in one sitting.
- Group lessons by format. Record every talking-head piece on one day with the same light, outfit and background. Do every screen recording in another session.
- Generate or build the explainers in a batch, using the same voice, style and frame so they look like one course.
- Name files by module and lesson, for example "M2-L3 Sort your expenses", before you upload anything.
- Review each module before moving on: facts, sound, anything on screen that will date quickly.
Basic kit for talking-head and screen lessons: a recent phone or webcam, an external microphone close to your mouth, a quiet room with soft furnishings, and light facing you from a window or a lamp. Sound matters more than picture: learners forgive a plain background, not a hollow echo.
Step 6: Test, launch, then improve
Before launch, give the first module to three to five people who match your learner. Watch where they stop, rewind or ask questions. Those are the lessons to rescript, split or reformat.
After launch, your course platform's completion data and learner questions tell you which lessons need work. Because each lesson is short and single-purpose, fixing one is a small job.
Example: a course outline with a format for every lesson
Here is a sample plan for "Bookkeeping basics for freelancers", four modules and 14 lessons:
Module 1: Getting set up
- Welcome, and what you will be able to do by the end (talking head, 2 min)
- Why separate business and personal money (explainer, 3 min)
- Opening a separate account and what to look for (talking head, 4 min)
Module 2: Recording money in and out
- Income and expenses: the two lists that matter (explainer, 3 min)
- Setting up your spreadsheet (screen recording, 8 min)
- Sort your expenses into categories (explainer, 4 min)
- Recording a month of transactions, worked example (screen recording, 10 min)
Module 3: Invoices and getting paid
- What goes on an invoice (explainer, 3 min)
- Making an invoice template (screen recording, 6 min)
- Following up late payments politely (talking head, 4 min)
Module 4: Your monthly routine
- The one-hour month-end routine (explainer, 4 min)
- Doing a month-end together (screen recording, 12 min)
- When to get help from an accountant (talking head, 3 min)
- Course recap (explainer, 2 min)
Six of the 14 lessons are explainers, about 19 minutes of video in all. They teach ideas rather than clicks or hand movements, so they suit a drawn explainer, and they are the lessons an AI video tool can produce quickly.
Using AI video for course lessons
AI video for courses is useful for the explainer, concept and recap lessons, not for everything. It saves time when you need many short videos that explain an idea clearly and consistently. It is the wrong choice for your welcome video, where learners want to see you, and for software or physical skills, where they need the real screen or real hands.
Whatever tool you use, the course is still yours: you choose what each lesson teaches, you write or approve the script, and you check every fact. Our AI whiteboard video generator guide explains what these tools do and what to check before choosing one.
Making course explainers with KolaVid
KolaVid makes narrated whiteboard videos from a typed prompt, pasted text or script, a PDF, Word, PowerPoint or text file, or a web link. For a course, you can paste each lesson script, or upload the module handout or slide deck and say which lesson to make. Each drawing appears as the narrator says it, with one idea on each board, and there is no avatar or presenter on screen.
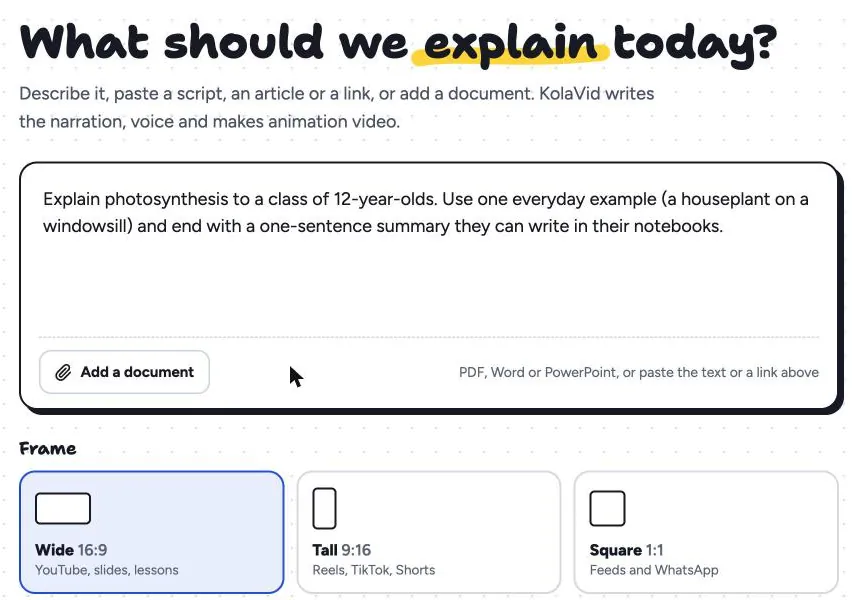
Pick Wide 16:9 for most course platforms, the same voice and narration language for every lesson, and a length of 1, 2, 3 or 5 minutes. Free videos go up to 2 minutes; paid plans up to 5. Videos are usually ready in a few minutes; you can watch each one being drawn.
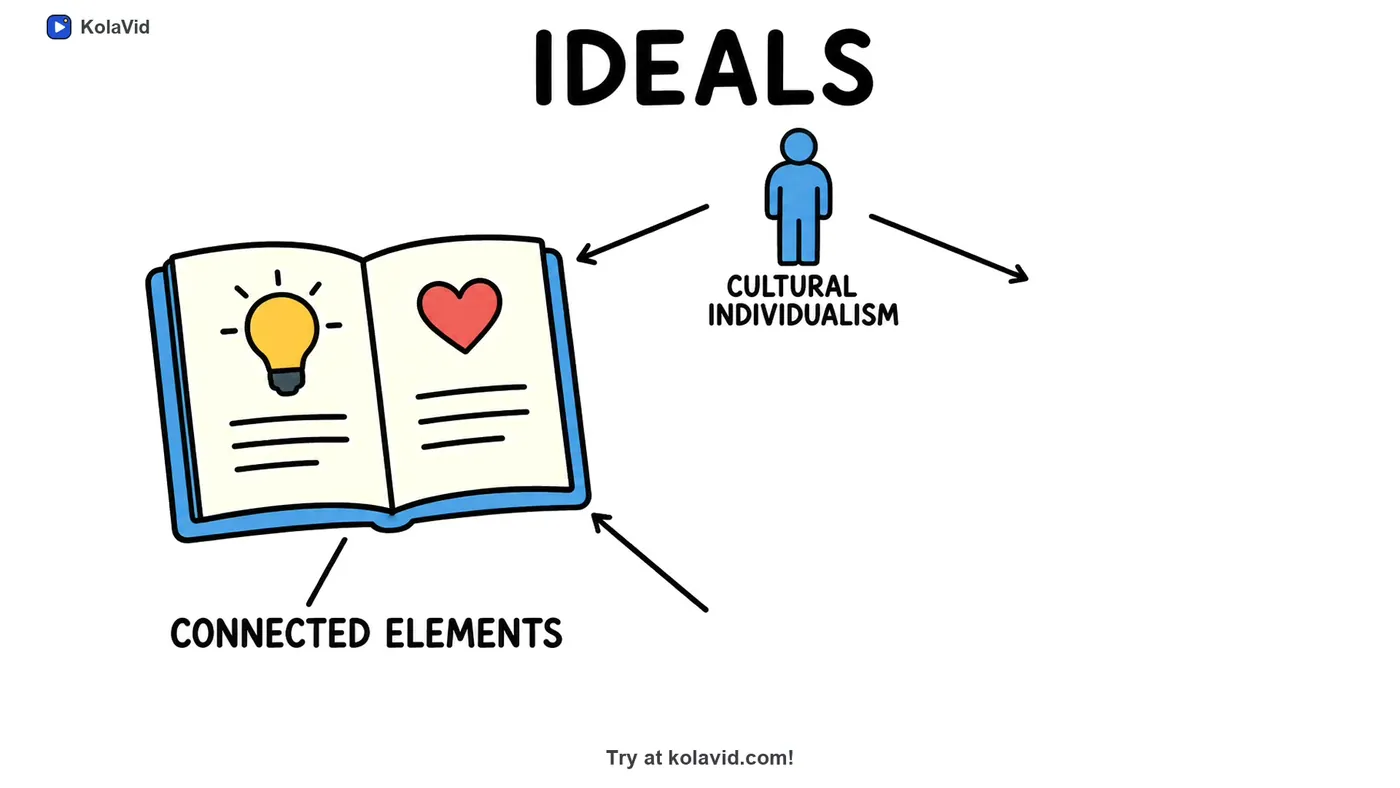
Here is a frame from a sample video, "A Research Paper, Summarised", made from a document: the board "Ideals" shows an open book labelled connected elements, linked by an arrow to a figure labelled cultural individualism.
On cost: whiteboard videos use 1 credit a second, and Starter is $19.99 a month for 5,000 credits, about 83 minutes of video. The six explainer lessons in the sample outline above add up to about 19 minutes. Download each lesson as an MP4 and upload it to your course platform as a normal video, or on a paid plan export a SCORM package or an embed code. Whiteboard videos come with captions in the narration language, which you can download as .srt or .vtt for your course platform. Know the limit: there is no editing timeline (you change the script and remake the lesson). The teachers page and training page have sample lessons.
FAQ
How long should online course videos be?
Most lessons work at 2 to 8 minutes, each teaching one thing. Worked examples where the learner follows along can run longer. If a lesson passes 15 minutes, look for a natural place to split it.
Do I need to be on camera to create a video course?
No. Many good courses use screen recordings and explainers for most lessons. A short talking-head welcome helps learners trust you, but it can be the only lesson where you appear.
What equipment do I need to make online course videos?
A recent phone or webcam, an external microphone, a quiet room and good light are enough. Screen recordings need screen-capture software, and explainer lessons need no camera at all.
Can I make a whole course with AI video?
You can make the concept, process and recap lessons with an AI explainer tool. Software steps, physical skills and personal welcome videos are usually better as screen recordings or filmed footage. Check every AI-made lesson against your own material before publishing.
Start with one module
Write the outcome sentence, list your modules, and pick the format for each lesson in module one. Script those lessons this week and produce them in batches. If you want to test the explainer lessons without recording, a free KolaVid account makes one 2-minute video, no card needed.