PowerPoint to Video: 3 Ways to Make a Training Video
Convert a PowerPoint to a training video three ways: PowerPoint's own export with recorded narration, a screen recording, or an AI tool that reads the deck.
There are three practical ways to turn a PowerPoint into a training video. PowerPoint can export the deck itself as an MP4, with narration you record slide by slide. You can screen-record yourself presenting it. Or you can give the .pptx file to an AI tool that writes a narration and builds a new video from the content.
The right choice depends on one question: is the deck already a good training video in waiting, or is it a set of speaker prompts that only made sense with a trainer in the room? This guide covers each method, what carries over, and how to fix a deck before you convert it.
The three methods at a glance
| Method | What you get | Best when | Watch out for |
|---|---|---|---|
| PowerPoint's own export | Your slides as an MP4, with your recorded voice | The slides are clear and you are happy to narrate | Text-heavy slides stay text-heavy; long exports can take a while |
| Screen recording | Whatever is on screen, plus your voice | You switch between the deck and live software | Editing out mistakes; webcam and notifications creeping in |
| AI tool that reads the deck | A new video made from the deck's content | The slides were built for a live session and won't work alone | The look changes; check every fact in the narration |
Method 1: PowerPoint's own export, with recorded narration
PowerPoint can save any presentation as a video file. If you record narration first, the voice and the timing of each slide go into the video. The steps below come from Microsoft's support pages; menus can move between versions, so search Microsoft support for "Turn your presentation into a video" if yours looks different.
Record your narration
In current Microsoft 365 versions on Windows, select Record (it sits in the top bar and on the Recording tab). The recording window has a teleprompter view that shows your speaker notes above the slide, which is the easiest way to read a prepared script.
A few things worth knowing:
- Narration is recorded per slide. If you fluff one slide, delete that slide's recording and redo it, not the whole deck.
- PowerPoint does not record sound while it moves between slides. Finish your sentence, pause, then advance.
- If you only want your voice, check the camera settings in the recording window before you start. A face in the corner of every slide rarely helps a procedure video.
Export the video on Windows
- Save the presentation as a .pptx file.
- Go to File > Export > Create a Video (or Export to Video on the Recording tab).
- Choose a quality: Ultra HD (4K), Full HD (1080p), HD (720p) or Standard (480p). Full HD suits most LMS platforms.
- Choose Use Recorded Timings and Narrations. Without a recording, each slide shows for a fixed time, 5 seconds by default.
- Select Create Video, name the file and choose MPEG-4 Video (MP4) as the type.
Microsoft notes that long or complex presentations can take several hours to export, and that macros, ActiveX controls and some older embedded media are left out.
Export on a Mac
On PowerPoint for Mac, use File > Export (not Save As), choose MP4 or MOV as the file format, pick a quality and tick Use Recorded Timings and Narrations. Microsoft's Mac page says animation effects do not play in the exported movie and some transitions look different, so a deck that relies on builds may need its steps split across separate slides first.

When this method works well
Use the export when the slides already carry one idea each, the text is short, and you have a script ready. It costs nothing extra if you already have PowerPoint, the video looks exactly like your deck, and updating it means re-recording one slide and exporting again.
Method 2: Screen recording
Screen recording captures whatever is on your display while you talk. Windows and macOS both include a basic screen recorder, and most meeting tools can record a shared screen.
It is the better choice when the training jumps between the deck and something live, such as a slide about the expenses policy followed by the real expenses system. It is also the fastest route if you are comfortable presenting off the cuff.
To keep it tidy:
- Turn on Do Not Disturb so chat pop-ups and email alerts stay out of the video.
- Present in slide show mode so the editing panes are hidden.
- Close tabs and windows you do not want people to see.
- Record each section separately. Five short files are easier to fix than one long one.
The weakness is editing. A cough, a wrong click or a changed screen means re-recording or trimming in a video editor. For training that changes often, this adds up.
Method 3: An AI tool that reads the deck
Most slide decks are written for a trainer in the room. "Q3 priorities" and three bullets meant something when a person explained them; on their own, in a video, they do not. Exporting that deck as-is gives viewers slides they cannot follow.
AI tools that accept a PowerPoint upload take a different approach. They read the slide text, write a narration that explains it, and build a new video. You are no longer converting the deck; you are using it as the source for a video that teaches the same thing.
Two checks matter more here than with the other methods:
- Read the narration against the deck. If the tool added a detail that is not in your slides, take it out or confirm it.
- Say what the video is for. "Training for new team leaders, practical tone" gives a better result than an upload with no instruction.
Our guide to turning a document into a whiteboard video covers this way of working in more depth.
Before you convert: fix the deck
Whichever method you choose, ten minutes of editing the deck saves a weak video.
- One idea per slide. A slide with six bullets becomes a long, static shot. Split it.
- Cut text you will say aloud. If the narration covers it, the slide does not need it in full.
- Write the narration in the speaker notes. Then your recording, the teleprompter or an AI tool all have the actual explanation, not just the headings.
- Remove "as discussed" slides. Agenda slides, "Questions?" slides and section dividers usually add nothing to a recorded video.
- Split long decks. A 60-slide induction deck makes a better set of short videos, one per topic, than a single 40-minute file. The training video script template shows how much fits in two or three minutes.
If you are weighing up whether to keep slides at all, whiteboard video vs slides compares the two for different kinds of training.
Converting a PowerPoint to a training video in KolaVid
KolaVid is one of the tools that takes the third approach. On the first screen, select Add a document and attach your .pptx file (it also accepts PDF, Word and text files). It reads the slide text and your speaker notes, and if you recorded narration into the deck, it listens to that too, so the explanation you already wrote or gave shapes the script. Add a line telling it who the video is for, such as "Training for new warehouse staff. Explain each step practically and end with a short recap."
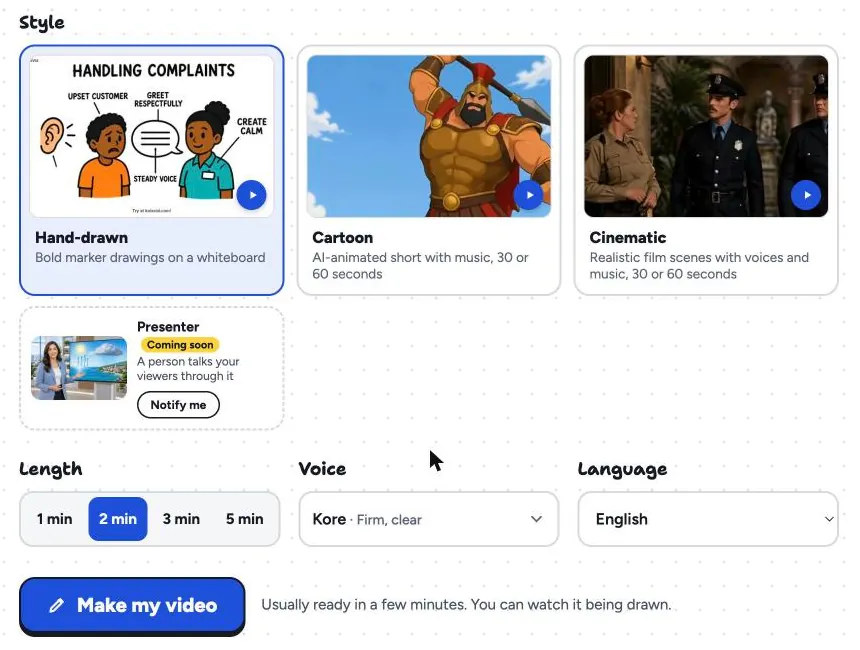
Then pick the style, length, voice and narration language. Free videos run up to 2 minutes and paid plans go up to 5, so a long deck is best split into several videos, one section each.
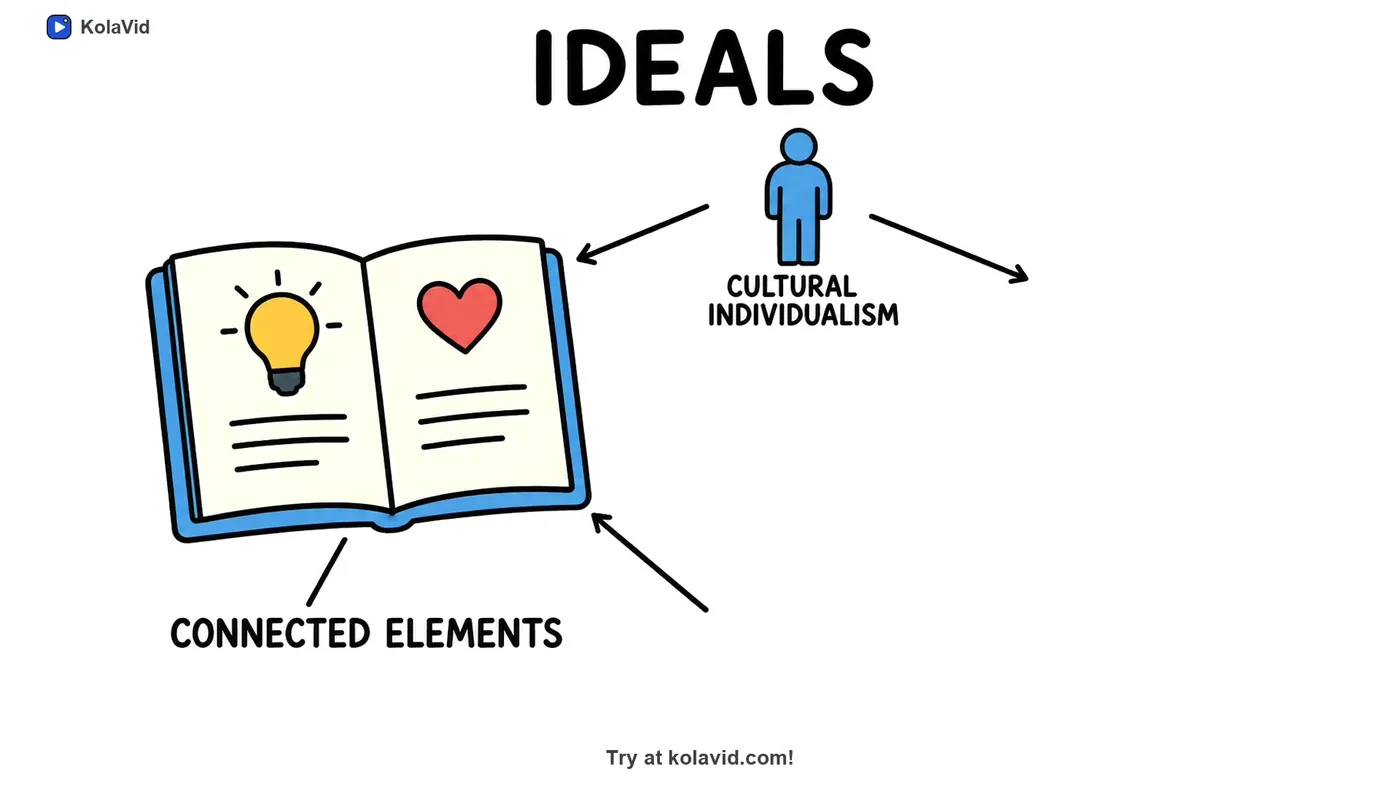
The result is a narrated whiteboard video, not your slides with a voice over them: each drawing appears as the narrator says it, with one idea on each board. The frame below comes from a sample video made from a long document; the drawings are new, made for the explanation rather than copied from the pages.
Download the MP4 for your LMS or share a link. Honest limits: your slide design, logo placement and colours are not kept, and there is no editing timeline. For an LMS, paid plans also export a SCORM package. The documents page explains how uploads are handled, and the training page has sample videos.
FAQ
Can PowerPoint save a presentation as an MP4?
Yes. On Windows, go to File > Export > Create a Video and save as MPEG-4 Video. On a Mac, use File > Export and choose MP4. Both include recorded narration and timings if you recorded them first.
Will my animations and transitions be kept?
On Windows, the export includes animations and transitions. On a Mac, Microsoft says animation effects do not play in the exported movie. Screen recording keeps everything you show. AI tools that rebuild the video from the content do not keep your animations or slide design.
Why is my PowerPoint video export taking so long?
Exports depend on the length of the deck, the quality you chose and any embedded media. Microsoft says a long or complex presentation can take several hours. Exporting at 1080p instead of 4K and removing unused media both help.
Can I convert a PPT to a video for free?
If you already have PowerPoint, its export costs nothing extra, and Windows and macOS include free screen recorders. AI tools vary; a free KolaVid account includes one 2-minute video with no card. Older .ppt files may need saving as .pptx first in many tools.
Pick the method by the deck
If the slides make sense alone, record your narration and export from PowerPoint. If the training moves between slides and live software, screen-record it. If the deck only worked with a trainer in the room, let a tool build a new video from it, then check every line. Start with one section of the deck, make a two-minute video, and show it to someone who has never seen the slides.