Safety Training Videos: How to Make Clear Ones
Turn safety procedures into clear safety training videos: fire evacuation, manual handling, ladders and PPE, when to film, and review with your safety lead.
A clear safety training video shows one procedure in the order people actually do it, gives the reason behind each step, and names the moment to stop and ask for help. Keep it to a few minutes, film it where the exact movement matters, use drawings where the sequence or the reason matters, and have your safety lead approve the script before anyone watches.
A note on scope. This guide is about making the videos clear. It does not tell you what your local law or regulator requires, and it does not replace your own risk assessments or procedures. The content of every safety video should come from your site's written procedure and be checked by the person responsible for safety at your workplace.
Start from the written procedure
Every safety video should have a source document: the fire procedure, the manual handling assessment, the ladder checklist, the PPE matrix. If the procedure is not written down yet, write and approve it first. A video made from memory turns one person's habits into everyone's training.
Then read the procedure as a new starter would. Underline three things:
- Actions: what the person physically does, in order.
- Reasons: why a step exists, especially any step that looks optional.
- Stop points: the moments when the person should stop, refuse or ask, such as damaged equipment, a blocked exit or a load that is too heavy.
The stop points are the part most written procedures bury and most videos skip. Put them in clearly. A video that only shows the job going well teaches people nothing about the moment it does not.
Film it or draw it?
Not every safety topic needs a camera. The choice depends on what the viewer has to take away.
| What the viewer needs | Better format | Example |
|---|---|---|
| Copy an exact physical movement | Filmed footage | Foot position and grip when lifting; fitting a harness |
| Recognise real equipment and its parts | Filmed footage or photos | Where the isolation switch is on your machine |
| Follow a sequence of decisions | Drawn explainer | What to do from the moment the alarm sounds |
| Understand why a rule exists | Drawn explainer | Why fire doors must stay closed |
| Spot a hazard in a situation | Either | A trailing cable across a walkway |
| Know which equipment goes with which task | Drawn explainer | Which gloves and eye protection for which job |
Filming real equipment in your own building has a big advantage: people see exactly what they will use. It also has costs. Someone has to perform the task correctly on camera, the area has to be safe and tidy while you film, and the footage goes out of date when the equipment changes.
Drawn explainers are easier to keep current and are good at showing the inside of a process: the route to the assembly point, the order of checks, the reason a step matters. They are weaker at showing a precise hand movement.
Many good safety videos combine both. A drawn explainer covers the sequence and the reasons, and a short filmed clip shows the one movement that must be copied exactly.
Four common topics, outlined
Below are outlines for four common safety topics. They show the shape of the video, not the content of your procedure. Fill each line from your own approved document and leave out anything that does not apply to your site.
Fire evacuation
Usually a drawn explainer works well here, since the subject is a sequence and a route.
- The moment: the alarm sounds during a normal shift.
- First actions: what your procedure says to do immediately, such as stopping work and leaving by the nearest safe exit.
- What not to do: the things your procedure rules out, for example going back for belongings.
- The route: where the exits and the assembly point are, shown as a simple plan.
- At the assembly point: who to report to and why the roll call matters.
- Stop point: what to do if your route is blocked.
- Recap: three short lines.
Add a short filmed walk of the actual route if your building is large or confusing.
Manual handling
This topic usually needs film for the movement and drawings for the decision.
- The decision before the lift: can this be moved with equipment, or with help, instead?
- Checking the load and the route: what to look for, in your procedure's words.
- The lift itself: filmed, showing the technique your training teaches.
- Moving and setting down: again filmed, from the side so the posture is visible.
- Stop point: when the load is too heavy, awkward or unstable, and who to ask.
Ladder use
- Is a ladder the right tool? When your procedure says to use something else.
- Pre-use check: the checks on your checklist, shown on your actual ladders.
- Setting it up: where and how, as your procedure describes.
- Working on it: the rules for climbing and reaching.
- Stop point: damaged ladders and how to take them out of use.
Film the checks and the set-up on your own ladders. A drawn explainer can then carry the "is this the right tool" decision.
PPE
- Why PPE is the last line of protection, in one or two sentences.
- Which task needs what: shown as a simple match between jobs and equipment.
- Checking it before use: what damage to look for.
- Wearing it correctly: filmed if fit matters, such as eye protection or hearing protection.
- Stop point: what to do when PPE is missing, damaged or does not fit.
Writing the script
Safety scripts are short and direct. A few rules that help:
- Use the imperative. "Stop work and leave by the nearest safe exit," not "Employees are expected to vacate the premises."
- Give the reason in one line. "Keep the fire door closed. It holds back smoke and gives people time to get out."
- Use the names people use on site. If everyone calls it "the big ladder in the stockroom", say so, alongside the official name.
- One instruction per sentence. A viewer cannot rewind a sentence in their head.
- Keep it to a few minutes. Most safety procedures fit in two to four. Our guide on how long a training video should be has the words-per-minute arithmetic.
If the procedure exists as an SOP, our guide to turning an SOP into a training video shows how to rewrite clause-style text so it sounds natural when spoken.
Review with your safety lead
This is the step you cannot skip. A mistake in a safety video reaches every viewer at once, and people trust what they were shown.
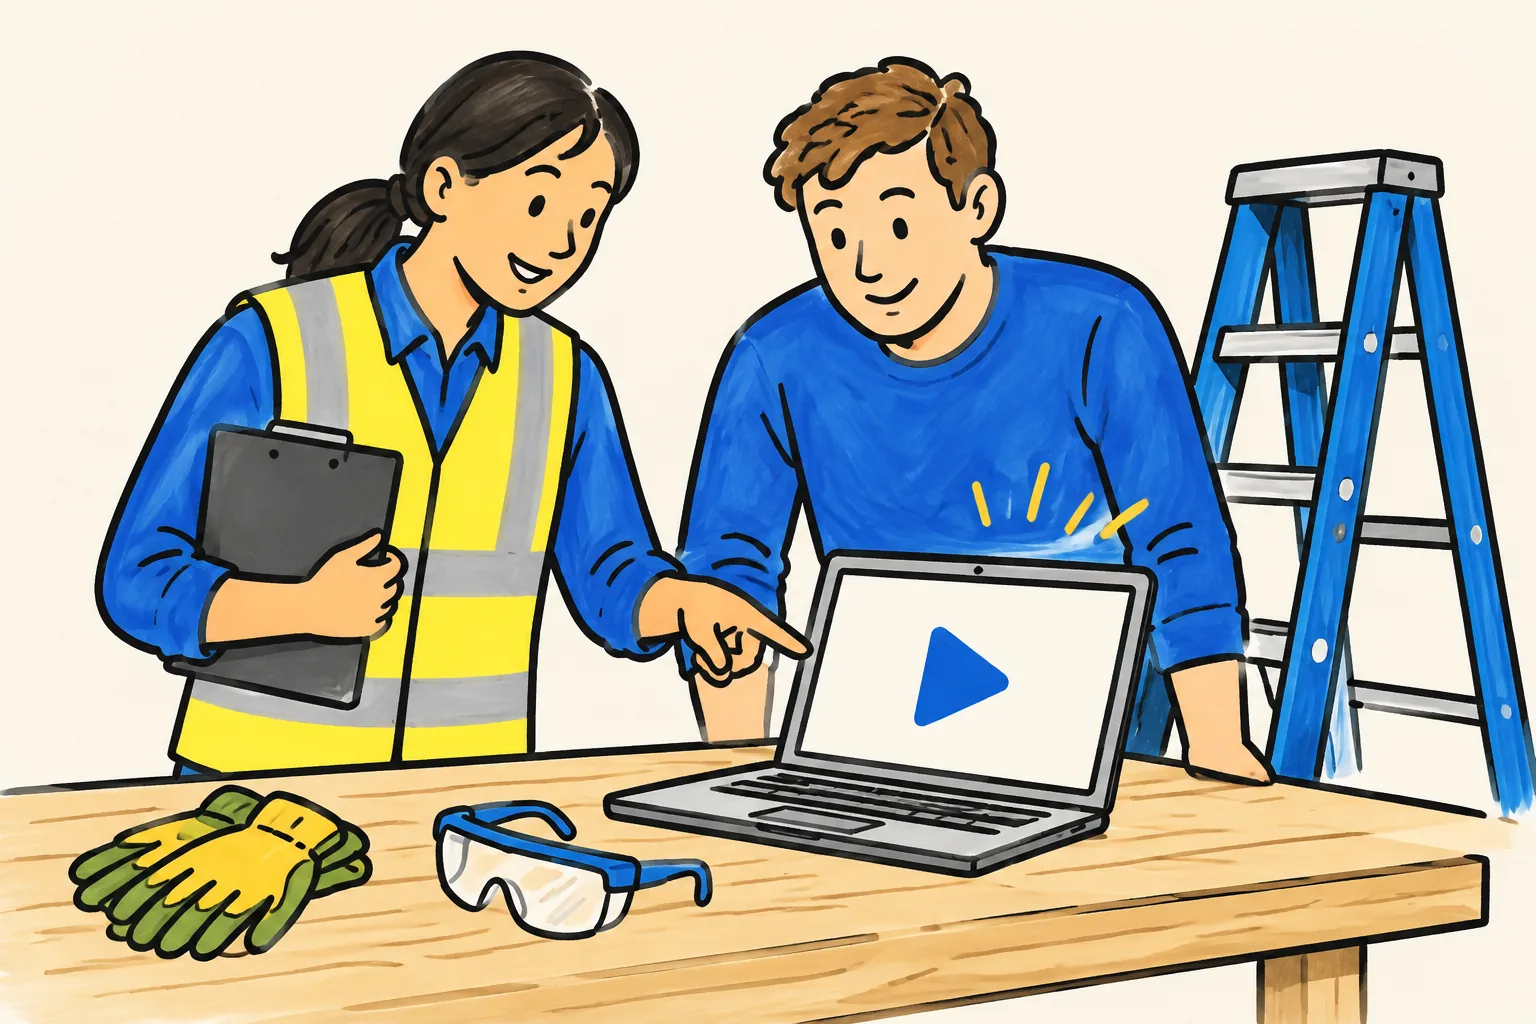
Send the script before you produce anything, then the finished video. Ask your safety lead to check:
- Does every step match the current written procedure?
- Are the stop points complete and clearly stated?
- Does anything shown on film contradict the procedure, such as missing PPE or a shortcut in the background?
- Is anything simplified so much that it becomes wrong?
- Is there a step that differs between sites, shifts or roles?
Then show it to one person who does the job every day. They will spot the gap between the written procedure and what really happens on the floor, which is often where accidents start. If they find one, raise it with the safety lead rather than quietly changing the video.
Record who approved the video and when, alongside the version of the procedure it is based on.
Where to show safety videos
- Induction: the essential safety videos before a new starter's first shift.
- Toolbox talks or shift briefings: play one short video, then discuss it for a few minutes.
- At the point of work: a QR code on the ladder store or next to the machine, linking to the relevant video.
- After a near miss: rewatch the relevant video as a team and ask what would have prevented it.
If your team works in more than one language, consider making each video in each language people need, so nobody is learning safety steps through a language they find difficult.
Keep them current
Review a safety video whenever its procedure changes, after an incident or near miss related to it, when the equipment changes, and at the review date your safety lead sets. For a wider plan of which videos to make first, see our guide to training videos for employees.
Making the drawn parts in KolaVid
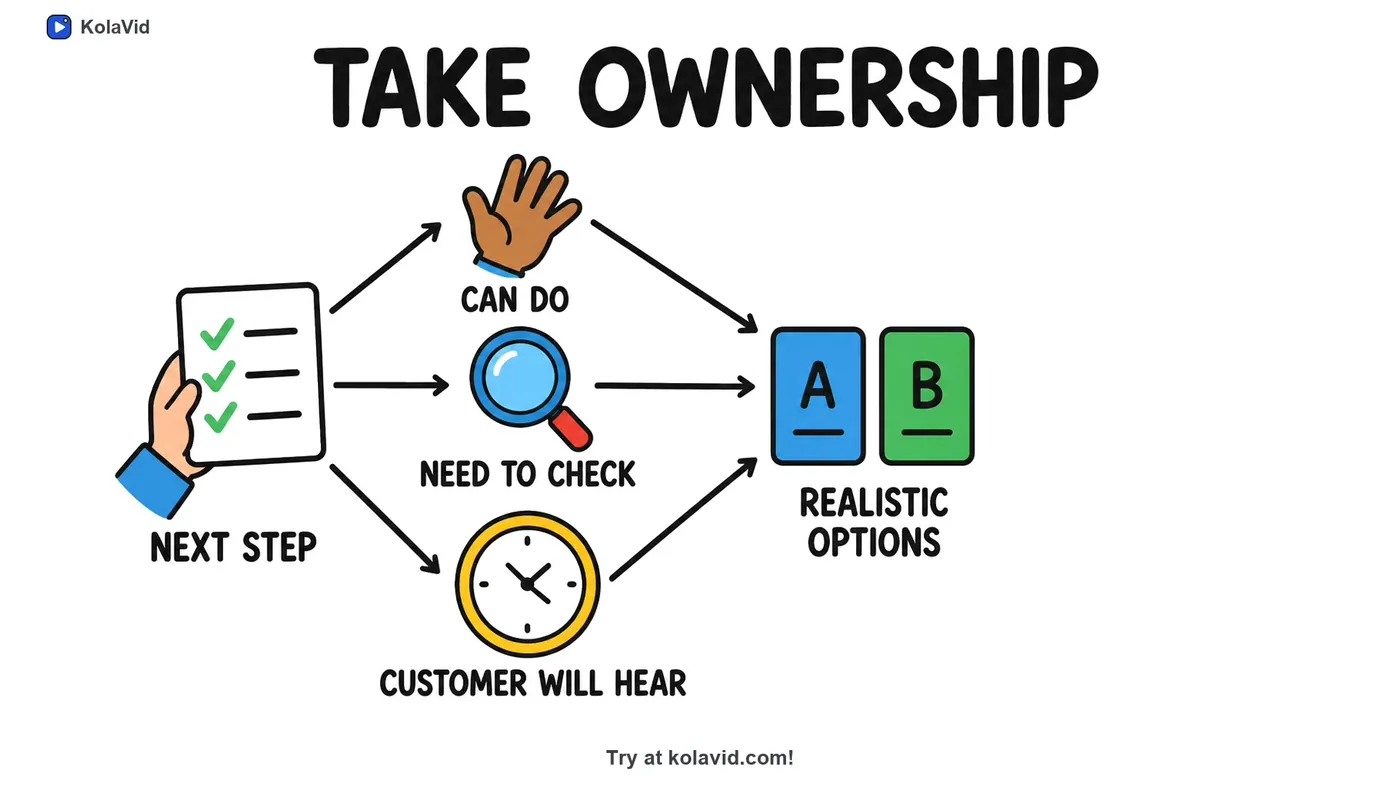
For the decision and sequence parts, KolaVid turns a pasted script, a prompt, a web link or an uploaded PDF, Word or PowerPoint procedure into a narrated whiteboard video. Each drawing appears as the narrator says it, one idea on each board, which suits step-by-step content like an evacuation sequence. Here is a frame from a sample training video, showing how a single step becomes one board:
You can pick from many narration languages and three frames: wide 16:9 for briefing screens, vertical 9:16 for phones, square 1:1 for team chats. Free videos run up to 2 minutes, paid plans up to 5. Be realistic about what it is for: it draws explanations, it does not film your equipment, so pair it with your own footage for the exact movements. There is no editing timeline; after an approved change to the procedure, you update the script and make the video again. The training page and the whiteboard page show sample videos.
FAQ
How long should a safety training video be?
Most single safety procedures fit in two to four minutes. If the video runs longer, split it by task, for example the evacuation route in one video and fire door rules in another.
Should safety training videos be filmed or animated?
Film what must be copied exactly, such as a lifting technique or the parts of your own machine. Use drawn explainers for sequences, decisions and the reasons behind rules. Many good safety videos mix both.
Who should approve a safety training video?
The person responsible for safety at your workplace, using the current written procedure as the reference. They should check both the script and the finished video.
Can a video replace hands-on safety training?
Not for tasks that need practice or supervision. A video prepares people and reminds them, but practical training and checks remain the job of your safety lead and supervisors.
Begin with the stop points
Take one safety procedure, underline its stop points, and write a script of about 300 words around them. Send it to your safety lead before anything else. If you want to see the sequence drawn, a free KolaVid account includes one 2-minute video, no card needed.