Educational Science Videos: Explain Concepts Clearly
How to make short educational science videos that explain processes, cycles and forces, tackle common misconceptions, and get the science right. Three prompts.
The best educational science videos explain one process at a time, start from something learners have already seen, and build the explanation cause by cause in the order it happens. They name the misconception most learners bring with them and correct it out loud. And they are checked line by line, because a confident video with one wrong fact teaches that fact very well.
Below: how to show processes, cycles and forces, the misconceptions worth tackling, and three prompts to copy (photosynthesis, the water cycle, the phases of the Moon), each with the science to double-check.
Why short videos suit science
Much of school science is about things learners cannot see happening: gas entering a leaf, water vapour rising off a puddle, a force acting on a ball. A finished textbook diagram shows every part at once, so learners do not know where to start. A short drawn explainer shows the idea being built, each part appearing as the narrator names it, so the order of the drawings becomes the order of the explanation.
Two to three minutes is enough for one concept. A video covering photosynthesis, respiration and the carbon cycle is three videos.
Three kinds of science ideas, three ways to show them
Processes: inputs, change, outputs
Photosynthesis, digestion, rusting. Show what goes in, where the change happens and what comes out, in that order, with arrows that show direction. Name each thing as it is drawn.
Cycles: start where the learner is
The water cycle, the life cycle of a frog. A cycle has no natural start, so begin where learners already are, such as a puddle drying up, go round once, and finish back at the start so the loop closes.
Forces: arrows with a size and a direction
Friction, gravity, pushes and pulls. Draw a force as an arrow: its direction shows which way it acts, its length how big it is. Two arrows on one object explain balanced and unbalanced forces, and let you show that a force is needed to change how something moves, not to keep it moving.
How to plan a science video in six steps
- Ask one question. "Why does a puddle disappear?" beats "The water cycle", and gives the video an ending: the answer.
- Fix the level. "Age 9, know solids, liquids and gases, have not met the word condensation" shapes every sentence.
- Start from something they have seen. A steamy bathroom mirror, a bike skidding to a stop. Observation first, explanation second.
- Build the cause in order. One step per drawing; each sentence answers "and then what?".
- Name the misconception. Say the wrong idea, why it seems right, and what actually happens.
- End with a check question learners can answer only if they understood, like "Where does the water in a cloud come from?".
Misconceptions worth tackling
Learners arrive with ideas from everyday life, and some block the right idea. These come up again and again:
| Common idea | What actually happens |
|---|---|
| Plants get their food from the soil | Plants make their own food (glucose) from carbon dioxide and water, using light. Most of a plant's dry mass comes from carbon dioxide in the air. Soil supplies water and small amounts of minerals. |
| Clouds are made of water vapour or steam | Water vapour is an invisible gas. Clouds are tiny drops of liquid water or ice crystals, formed when water vapour cools and condenses. |
| The Moon's phases are caused by Earth's shadow | The Sun always lights half of the Moon. As the Moon orbits Earth, we see different amounts of that lit half. Earth's shadow on the Moon is a lunar eclipse, which is rare. |
| A moving object needs a force to keep moving | It keeps moving unless a force changes its motion. Things slow down because of forces such as friction and air resistance. |
| Summer happens when Earth is closest to the Sun | Seasons come from the tilt of Earth's axis. Earth is closest to the Sun in early January, during winter in the Northern Hemisphere. |
Pick the one that matters most for your topic and give it its own moment. Trying to fix three at once usually fixes none.
Three prompts you can copy
Each prompt works with any AI video tool or as a plan for recording your own. Check the finished video against the notes under it.
Prompt 1: photosynthesis (ages 11 to 13)
Explain photosynthesis to a class of 12-year-olds in two minutes. Start with a houseplant on a windowsill that keeps growing even though nobody feeds it. Show the inputs (light, carbon dioxide from the air, water from the roots), what happens in the leaf, and the outputs (glucose and oxygen). Correct the idea that plants get their food from the soil. End with a one-sentence summary students can copy into their notebooks.
Science to double-check:
- The word equation is carbon dioxide + water → glucose + oxygen, with light energy absorbed by chlorophyll. Light is energy, not an ingredient that becomes part of the glucose.
- Carbon dioxide enters through tiny pores in the leaf called stomata. Water comes up from the roots.
- The plant uses glucose for energy and to build new material such as cellulose, and stores some as starch.
- Plants respire all the time, day and night. Photosynthesis needs light.
- Watch for: "plants breathe in carbon dioxide" (gas exchange is not breathing), and any line saying the plant's food comes from the soil.
Prompt 2: the water cycle (ages 8 to 10)
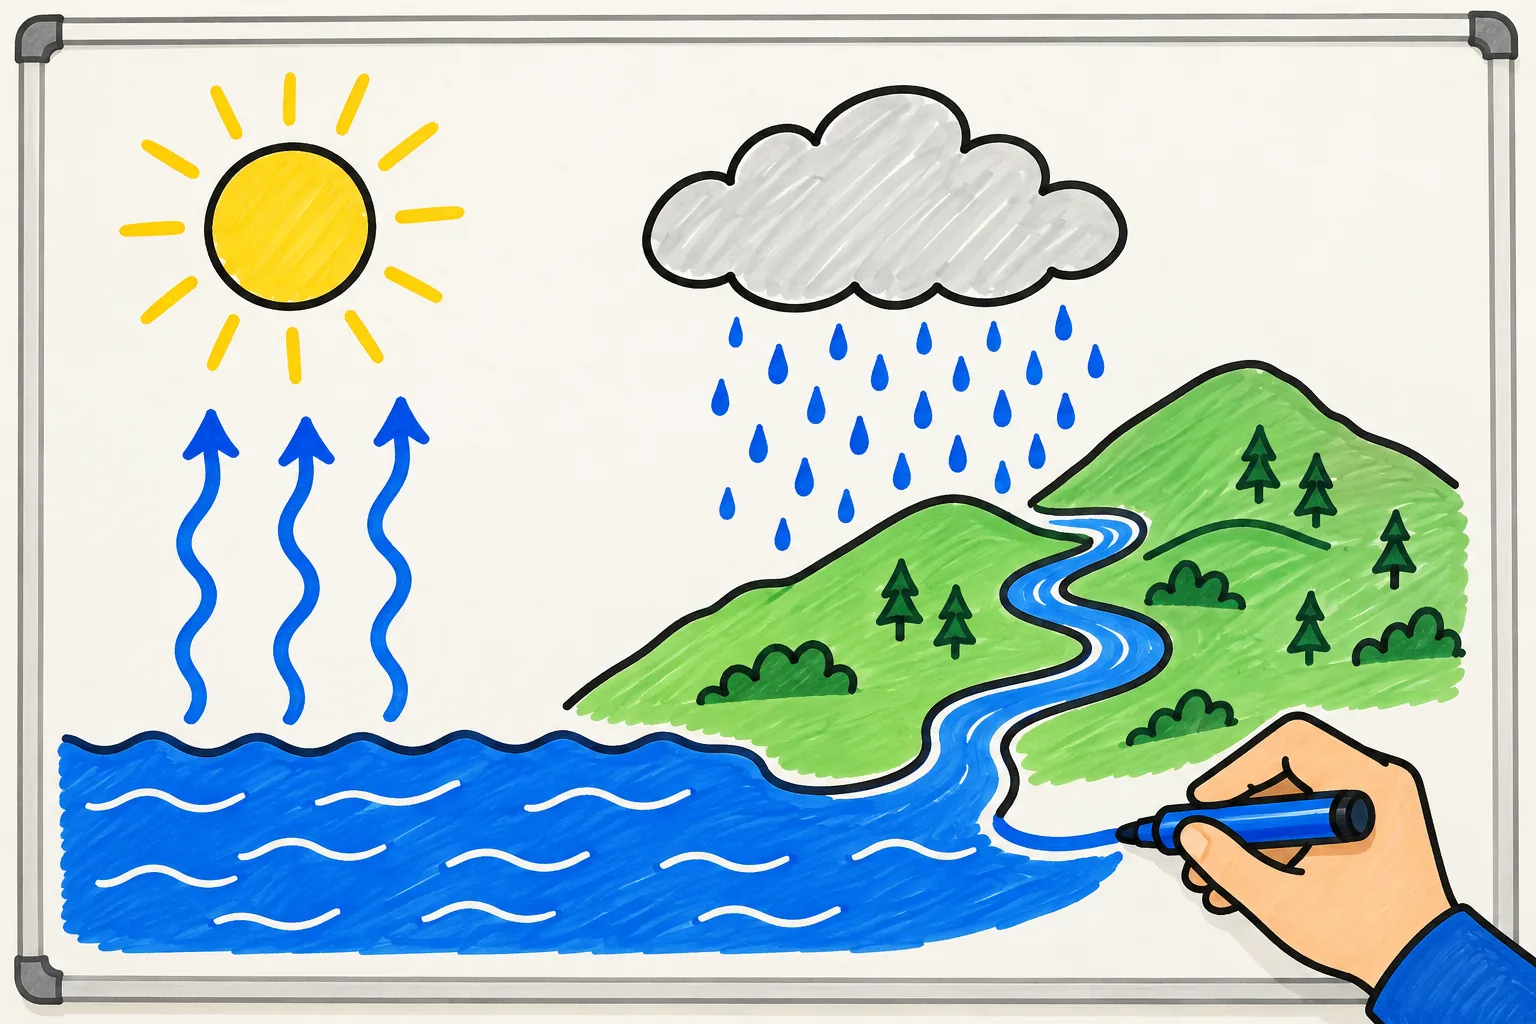
Make a two-minute video for 9-year-olds answering "Where does a puddle go?". Start with a puddle drying in the sun. Show evaporation, condensation into clouds, precipitation, and the water collecting in rivers, lakes and the sea, then going round again. Explain that water vapour is invisible and that clouds are made of tiny drops of water. Use simple words and introduce each science word only after showing what it means.
Science to double-check:
- Evaporation: the Sun warms water and some of it turns into water vapour, an invisible gas. Water also evaporates from plant leaves (transpiration).
- Condensation: as the vapour rises it cools, and turns back into tiny liquid droplets around specks of dust. Masses of these droplets make clouds.
- Precipitation: droplets join together until they are heavy enough to fall as rain, snow, sleet or hail.
- Collection: water runs into rivers, lakes and the sea, or soaks into the ground as groundwater.
- When seawater evaporates the salt stays behind, so rain is fresh water.
- Watch for: "clouds are made of steam", rain as a cloud "bursting", and arrows that make the cycle look like it only starts at the sea.
Prompt 3: why the Moon has phases (ages 10 to 12)
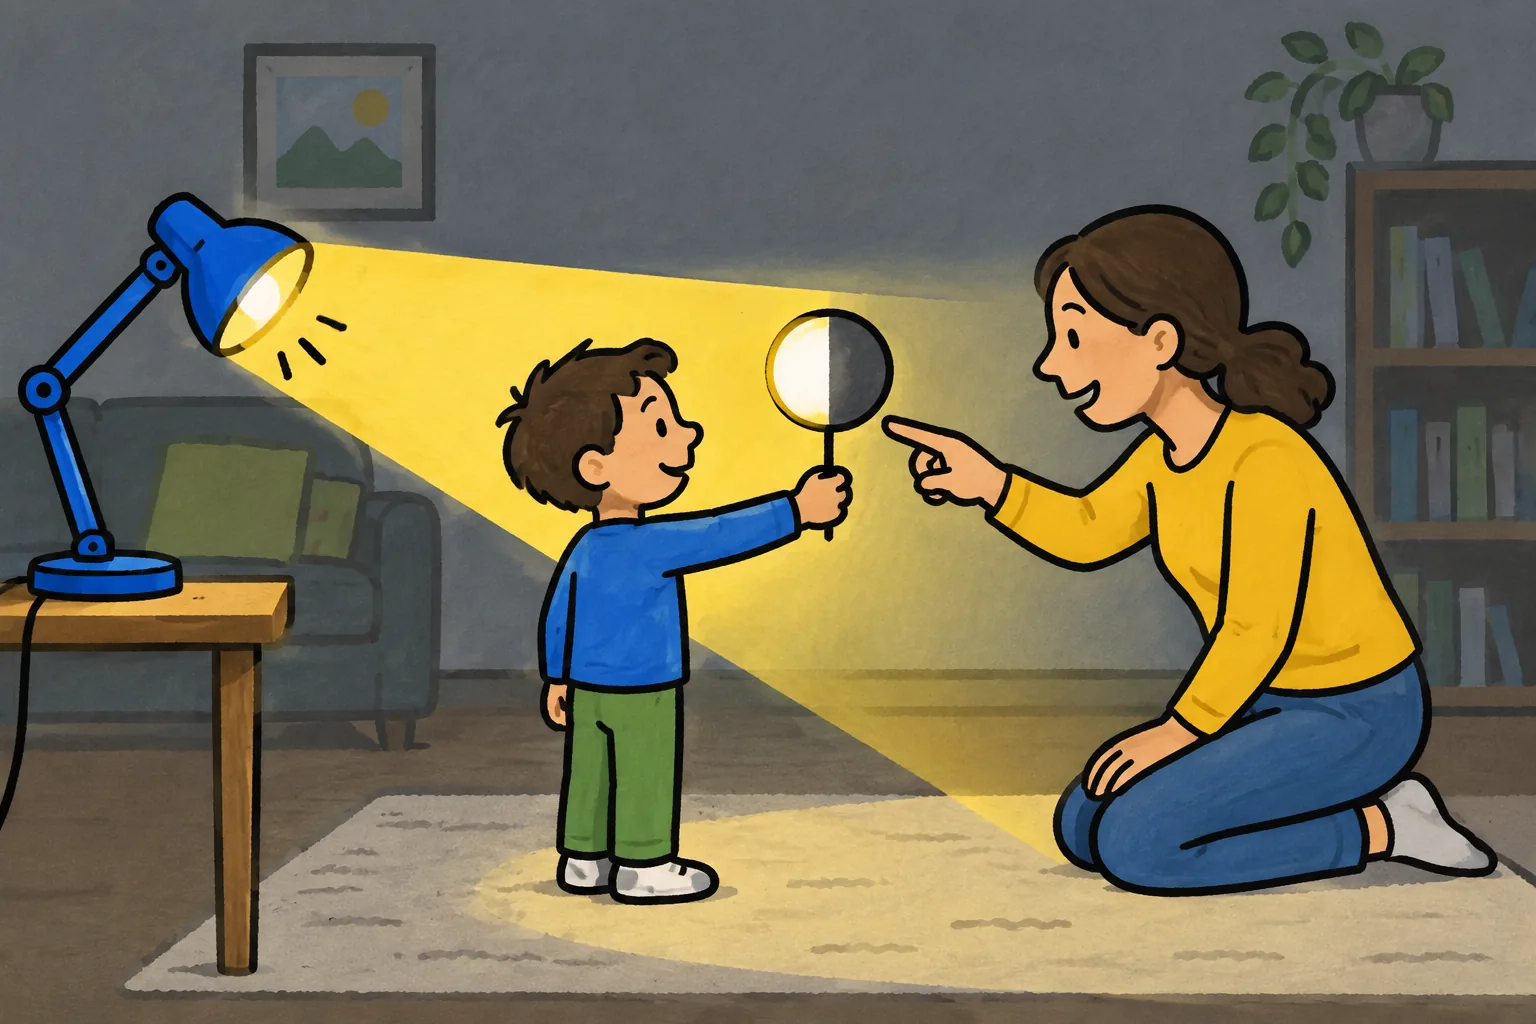
Explain why the Moon seems to change shape over a month, for 11-year-olds, in two and a half minutes. Start with the Moon looking like a thin crescent one week and a full circle two weeks later. Show that the Moon makes no light of its own and the Sun always lights half of it. Show the Moon moving around Earth and how much of the lit half we see from Earth at new moon, first quarter, full moon and last quarter. Say clearly that the phases are not caused by Earth's shadow. End by suggesting the lamp-and-ball experiment at home.
Science to double-check:
- The Moon reflects sunlight; it does not make its own light.
- Half of the Moon is always lit by the Sun. The phase depends on how much of that lit half faces Earth.
- One full cycle of phases, new moon to new moon, takes about 29.5 days.
- At new moon the Moon is roughly between Earth and the Sun, so its lit side faces away from us. At full moon Earth is roughly between the Sun and the Moon.
- The order is: new moon, waxing crescent, first quarter, waxing gibbous, full moon, waning gibbous, last quarter, waning crescent. Waxing means the lit part is growing.
- Seen from the Northern Hemisphere, a waxing Moon is lit on the right; from the Southern Hemisphere, the picture is flipped. Draw it for your learners' hemisphere.
- Watch for: Earth's shadow causing phases, and drawings where the lit side of the Moon faces away from the Sun.
For the follow-up, a lamp is the Sun, a ball on a stick held at arm's length is the Moon, and the learner's head is Earth. Turning slowly in a circle, they see the lit part of the ball grow and shrink.
Check the science before you share
Whether you write the script or an AI does, the person who shares the video is responsible for the facts.
- Check against your textbook or curriculum. Terms differ between countries and exam boards; use the words your learners will be tested on.
- Check every number. If you are not sure of a figure, cut it; the concept rarely depends on it.
- Check the arrows. Each arrow makes a claim (this flows into that, this force pushes that way), so make sure it points the right way.
- Listen for loose words. "Steam", "breathe", "food" and "energy" are often used loosely in everyday speech.
- Watch it as a learner. Would someone who knew nothing end up with the right idea, or a new misconception?
If something is wrong, fix the script and make the video again rather than planning to "mention it in class".
Making science videos with KolaVid
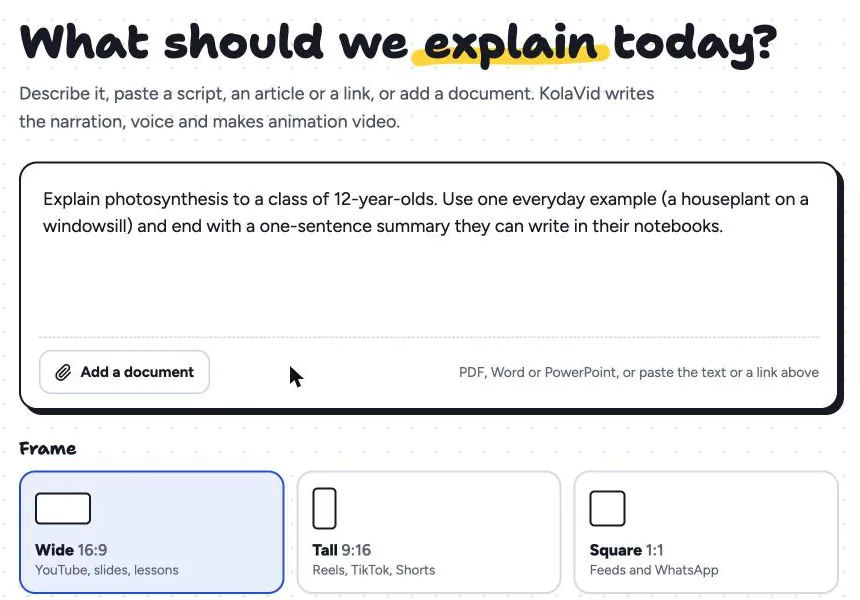
KolaVid turns a typed prompt, pasted text or script, an uploaded PDF, Word or PowerPoint file, or a web link into a narrated whiteboard video. Each drawing appears as the narrator says it, with one idea on each board. Paste one of the prompts above, or attach your lesson notes with Add a document and say which concept to cover for which age. Choose Wide 16:9 for the classroom screen or Tall 9:16 for phones.
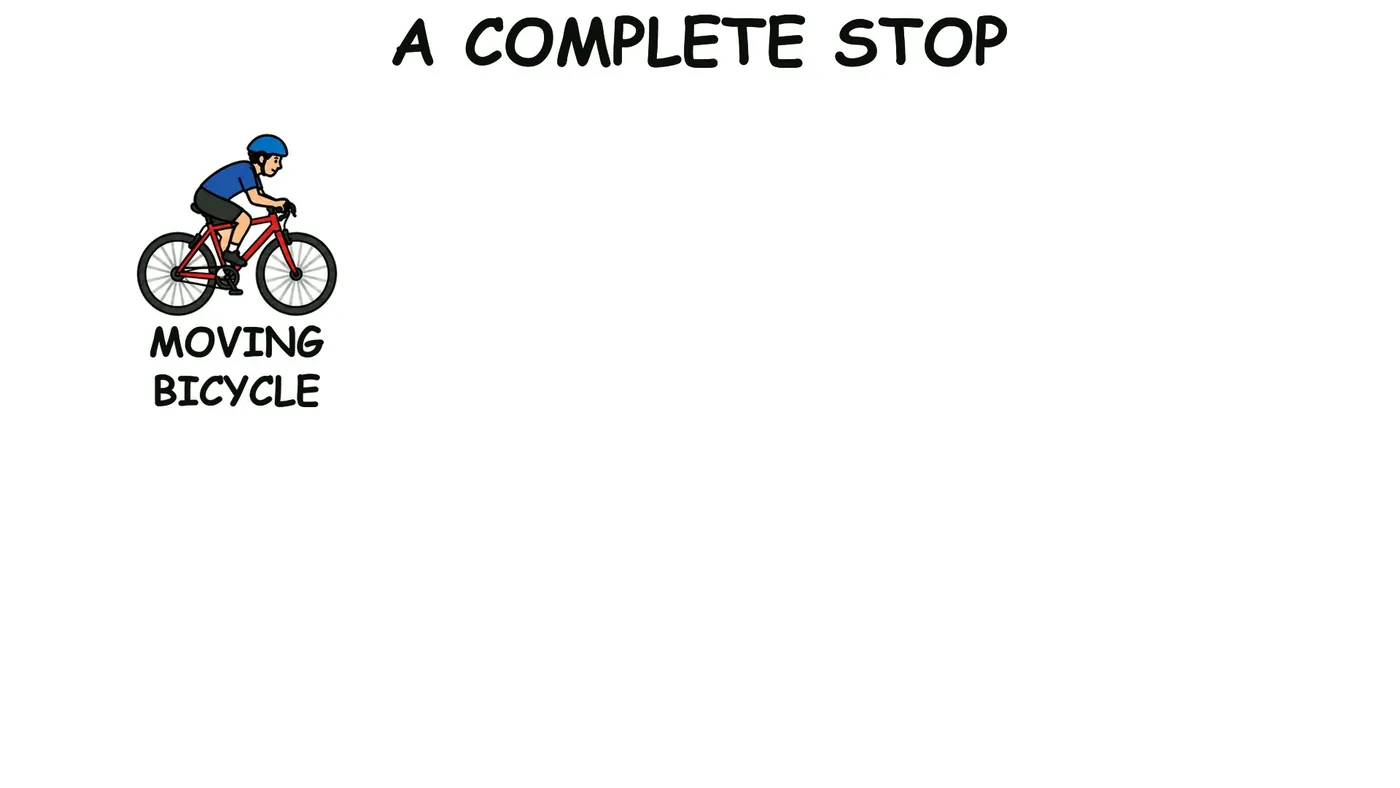
Pick a length (free videos run up to 2 minutes, paid plans up to 5), a voice and the narration language; it is usually ready in a few minutes. Here is the start of a board from a sample video on how bicycle brakes work, a lesson about friction: the moving bicycle is drawn first, and the rest of the board is added as the narrator explains how the brakes bring it to a stop.
Run through the checklist before you share it. There is no editing timeline, so if a line is wrong, correct the prompt or script and make the video again. Then download the MP4 or share a link. The teachers page has more sample lessons, and our guide to whiteboard videos for teachers covers planning a series. For tips on wording requests, see prompt writing for whiteboard videos.
FAQ
How long should an educational science video be?
Two to three minutes for one concept: long enough to go from an observation to an explanation and a check question, short enough to watch twice.
How do you explain a science concept simply?
Start from something learners have seen, explain the cause one step at a time, introduce each science word after showing what it means, and finish with a check question.
Can AI-made science videos be trusted?
Only after you check them. AI tools write clear explanations but can state something wrong with confidence, so check every sentence and drawing before sharing.
Are short science videos good for younger students?
Yes, if the language and pace fit: one simple idea, everyday examples, the key word repeated. Our guide to educational videos for kids goes into this.
Try one concept this week
Pick the concept your learners get wrong most often and make a two-minute video that names the misconception and corrects it. A free KolaVid account includes enough credits for one 2-minute video, no card needed. Show it, ask the check question, and see how many answers come back right.