How to Record a Lecture Video: A Lecturer's Guide
How to record a lecture video: choose webcam, slides or screen, get clear audio, split a 50-minute lecture into short videos, or make one from slides you have.
To record a lecture video, pick one set-up (your slides with your voice, a screen recording, or you on webcam beside your slides), get the microphone close to your mouth in a quiet room, and record the lecture in short sections rather than one 50-minute take. Each section should cover one learning outcome and run about 5 to 10 minutes. Trim the start and end, add captions, and post the sections in order in your course page.
You do not need a studio for this. Students notice sound and length most: a clear voice and short, well-named parts beat a polished hour-long recording. Below is each step, a worked example of a 50-minute lecture split into six videos, and a route from existing slides to a video without recording.
Choose your recording set-up
Most lecture videos fall into one of three set-ups. Pick by what students need to see.
| Set-up | What students see | Best for | Watch out for |
|---|---|---|---|
| Slides with your voice | Your slides, full screen, and your narration | Content that already lives in a deck: definitions, models, case studies | Slides packed with text that students read instead of listening |
| Screen recording | Whatever is on your screen: slides, software, a website, a document | Showing software, data analysis, coding, or moving between sources | Notifications, open tabs and desktop clutter getting into the video |
| Webcam plus slides | Your face in a corner or beside the slides | Introductions, welcome videos, discussion prompts, building rapport | Light, framing and eye contact all become your job |
For maths, physics or chemistry, a fourth option works well: record a tablet with a stylus, or a document camera over paper, so students see the working appear line by line.
Your face on screen is optional. It helps in a module's first video, when students are deciding whether you are approachable. In a 7-minute segment on the supply curve, a talking head mostly takes space from the diagram.
Get the audio right first
Students forgive plain slides. They will not sit through a voice that echoes or crackles, so spend your effort here first.
- Microphone close to your mouth. A headset or a USB microphone a hand's width away sounds far better than a laptop's built-in microphone at arm's length. Earbuds with a microphone are a decent free option.
- A soft room. Bare walls and hard floors echo. A small office with books, curtains or a sofa sounds better than an empty seminar room.
- Test 30 seconds and play it back through headphones before every session. Listen for hum, fans, traffic and the echo of your own voice.
- Steady distance. Leaning back to read a slide makes your voice fade in and out.
Camera and light, if you appear
Three changes make the biggest difference. Raise the laptop on a stack of books so the lens is level with your eyes. Face a window or put a lamp behind the laptop; a window behind you turns you into a silhouette. And look at the lens, not at your own face on screen. Keep the background plain: a bookshelf is fine, a pile of marking is distracting.
Break a 50-minute lecture into short videos
A recorded lecture is not a live lecture with a camera pointed at it. Nobody can raise a hand, long stretches without a change of topic lose people, and an hour-long file is hard to search when a student wants to revise one idea.
Chunk the lecture by learning outcome:
- List the outcomes for the session as things a student can do: "draw a demand curve and explain its slope", "find the equilibrium price on a diagram".
- One video per outcome. If an outcome needs more than about 10 minutes, it is probably two outcomes.
- Put a short task between videos: a question to answer, a diagram to sketch, a quiz item in your learning platform. This replaces the pauses and questions of the live room.
- Give each video a title that says what it teaches, not "Week 3 Part 2".
Recordings usually come out shorter than the live session, because there are no late arrivals, admin notices or waiting for answers. Do not pad them back out.
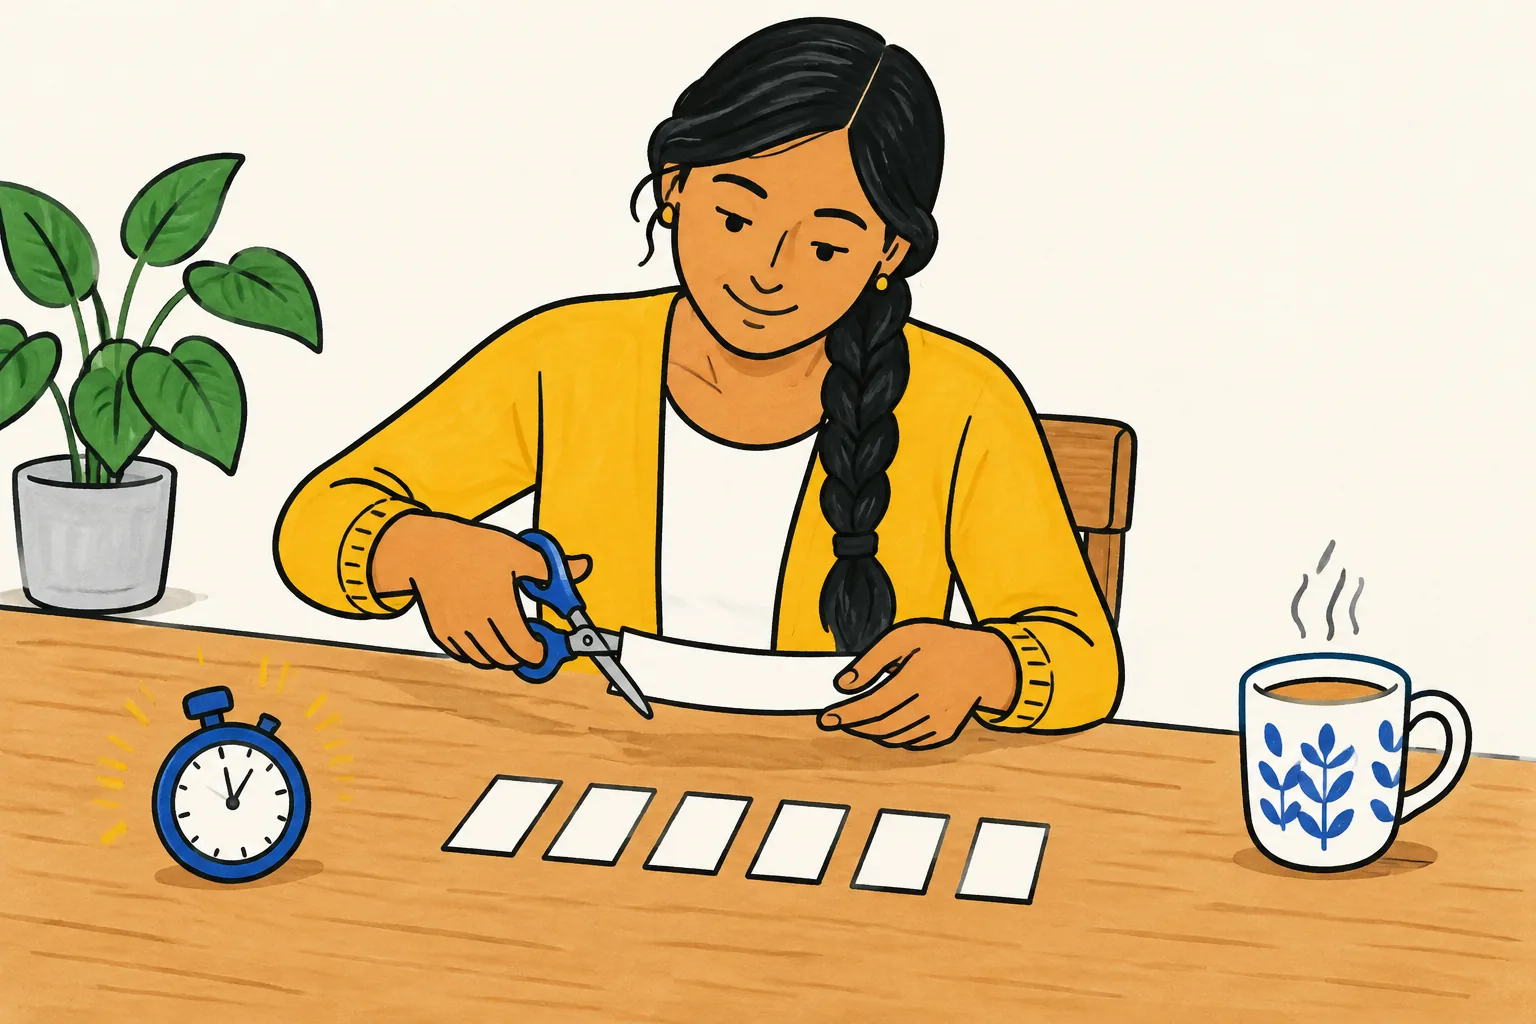
Worked example: a first-year economics lecture
Here is a 50-minute lecture, "Introduction to supply and demand", split into six videos. Copy the shape for your own subject.
| # | Video title | Outcome | Length | Task after it |
|---|---|---|---|---|
| 1 | Why do prices change? | Name three things that moved the price of something you buy | 4 min | Write down one price you noticed rising this year and guess why |
| 2 | The demand curve | Draw a demand curve and explain why it slopes down | 8 min | Sketch the demand curve for concert tickets |
| 3 | The supply curve | Draw a supply curve and explain why it slopes up | 7 min | Two-question quiz |
| 4 | Where supply meets demand | Find the equilibrium price and quantity on a diagram | 8 min | Mark equilibrium on a printed diagram |
| 5 | Shifts versus movements | Tell a shift of a curve from a movement along it | 9 min | Sort four news headlines into "shift" or "movement" |
| 6 | Worked example: a frost hits the coffee harvest | Use the diagram to predict what happens to price | 7 min | Predict the effect of a bumper harvest instead |
Forty-three minutes of video, six entry points for revision, and five moments where students do something instead of just watching. If you are planning a whole unit this way, our guide to flipped classroom videos covers what to do with the class time you get back.
Write a running order, not a full script
Reading a full script word for word tends to sound flat. Talking with no plan tends to wander. A running order sits in between: for each video, a few lines on a card or in your speaker notes.
A running order you can copy:
- Opening line: the question this video answers, in plain words. "Why does a concert ticket cost more the week before the show?"
- Three to five points, each a short phrase, in the order you will say them.
- One example you will work through, chosen in advance.
- The common mistake students make with this idea.
- Closing line: a one-sentence summary and the task that comes next.
If you get nervous, write the opening and closing lines in full and keep the middle as notes. Our voiceover guide has more on pace and sounding natural.
Record section by section
- One file per video. Start and stop the recording for each segment. A mistake in video 4 then costs you 8 minutes, not 50.
- Pause, then start the sentence again when you stumble. A clean restart after a two-second pause is easy to cut, and often fine to leave in.
- Pause before you change slide. Some recorders, PowerPoint's included, do not capture sound during the change, so a sentence spoken across it gets clipped.
- Talk to one student. Picture a specific person who is a bit lost. You will explain more slowly and more clearly than you would to a full hall.
- Do not chase perfect. A small slip, corrected naturally, sounds human.
The software you already have is usually enough; see the FAQ below. If you are recording over slides, our PowerPoint to video guide walks through PowerPoint's own recording and export menus.
Edit lightly, caption, publish
Editing a lecture video should take minutes, not an evening. Trim the silence at the start and end, cut any false start longer than a sentence, and check that the first 10 seconds make clear what the video covers.
Add captions. Many video and learning platforms generate them automatically. Read them through and fix names, technical terms and numbers, which automatic captions often get wrong. Captions help students who are deaf or hard of hearing, students working in a second language, and anyone watching on a bus.
Then post the videos in your course page as a numbered list, each with its title, its length and the task beneath it. Keep the files and running order together; next year you can re-record one 8-minute section instead of the whole lecture.
Making a lecture video from slides, without recording
Sometimes you want a short explainer for one idea and do not want to record at all: you are short of time, unwell, or uncomfortable on camera. Then an AI tool can write the narration and make the video from what you already have.
KolaVid does this. You upload a PowerPoint (.pptx), PDF, Word or text file, paste your notes, or type a short brief, and it makes a narrated whiteboard video in which each drawing appears as the narrator says it, one idea on each board. From a .pptx, it reads the slide text and your speaker notes, and transcribes narration you have recorded into the deck, so the notes you wrote for the lecture become the source for the script. A PDF export of the same slides carries the slide text only, so upload the .pptx if your notes hold the explanation.
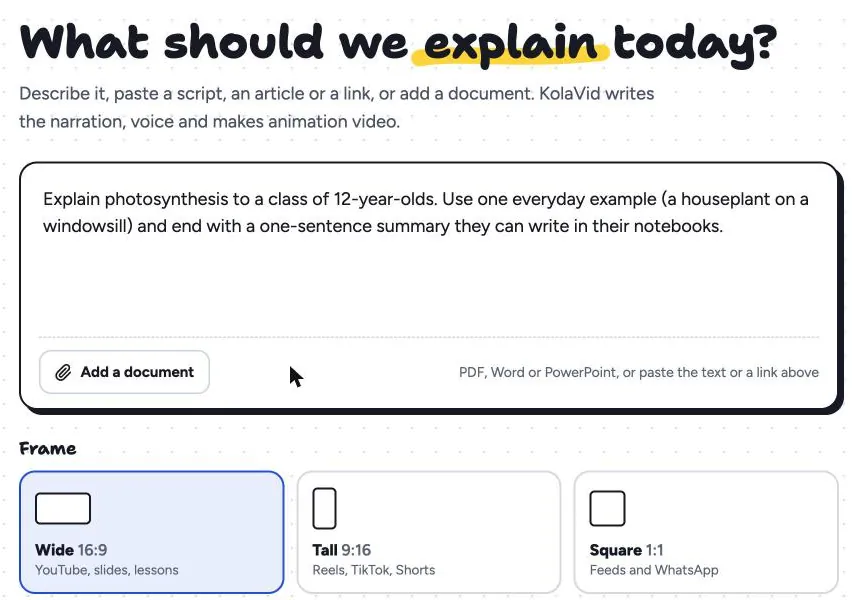
It suits one segment at a time rather than the whole lecture: lengths are 1, 2, 3 and 5 minutes, with free videos up to 2 minutes and paid plans up to 5. For the economics example, you might upload the slides for "Shifts versus movements" and add a line such as: "A 3-minute explainer for first-year economics students. Use one example, coffee prices after a frost, and end by naming the common mistake."
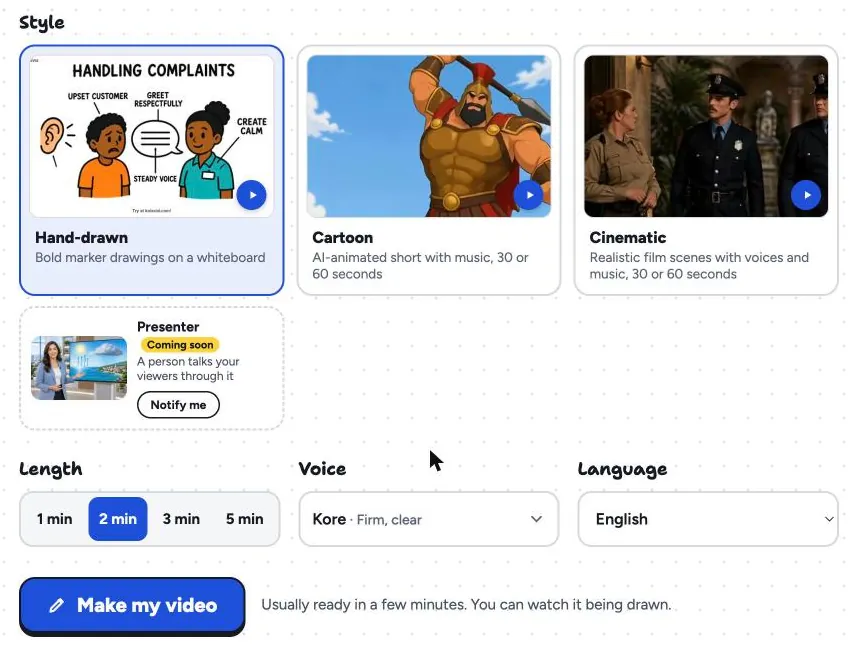
Choose the voice, the narration language and the frame (Wide 16:9 suits a course page); it is usually ready in a minute or two, as an MP4 to download or a link to share. Whiteboard videos come with captions in the narration language (download them as .srt or .vtt, or burned into the MP4), so check them if your institution requires captions. One honest limit: there is no editing timeline, so you change the source text and make the video again. The teachers page has sample lessons, and the documents page shows how uploaded files are handled.
FAQ
How long should a lecture video be?
Aim for 5 to 10 minutes per video, one learning outcome each. A 50-minute lecture usually becomes four to seven short videos with a task between them. If a single video runs past 10 or 12 minutes, check whether it covers two ideas.
What is the best free software to record a lecture?
Use what you already have. PowerPoint records narration over your slides and exports a video. Windows and macOS include basic screen recorders, and OBS Studio describes itself on its own site as "free and open source software for video recording and live streaming", for Windows, macOS and Linux. Your institution may also have a lecture capture system with support staff, which is worth asking about before you start.
Can I reuse lectures I recorded live in a hall?
Yes, but cut them up. Trim the admin and waiting, split the recording at each change of topic, and title each part by what it teaches. A two-hour hall recording is useful as an archive; six short parts are what students actually revisit.
Start with one segment
Take the part of your next lecture that students always ask about, write a five-line running order, and record it as a single 8-minute video this week. If you would rather not record, a free KolaVid account includes enough credits for one 2-minute video with no card needed: upload the slides for that one idea and see how your students respond.