How to Make an Explainer Video: A 9-Step Guide
How to make an explainer video step by step: set the goal, know the viewer, pick one message, write the script, plan the visuals, add a voice and publish.
To make an explainer video, decide what the viewer should do after watching, write down the one message that gets them there, and turn it into a short spoken script of about 150 to 300 words. Then give every sentence a picture, record or generate a clear voice, keep it to one or two minutes, and publish it where your viewers already are. The script is the hard part; everything else follows from it.
An explainer video is a short video that makes one idea easy to understand: a product, a service, a change or a concept. This guide takes you through the nine steps in order, then shows them applied to a real-looking example you can adapt.
Step 1: Decide what the video must do
Start with the result, not the topic. Finish this sentence before you write anything: "After watching, the viewer will..."
- "...book a free trial lesson from the page they are on."
- "...know which bin their food scraps go in, and on which day."
- "...understand why our app asks for their bank details, and feel safe giving them."
Each of these is something you could check. "Raise awareness of our service" is not, so you will never know whether the video worked. If you cannot name the action, the video is not ready to be made yet.
If the viewer must learn to carry out a task step by step, you probably want a training video instead; our guide to explainer vs training videos sets out the difference.
Step 2: Know the one viewer
Picture one real person who will watch it. Write three short notes about them:
- What they already know. A first-time visitor to your website knows nothing about you. An existing customer knows your name but not the new feature.
- What they are worried about. Price, time, effort, looking foolish, getting it wrong. The video should answer that worry somewhere.
- Where and how they watch. On a phone with the sound off in a feed? On a laptop on your pricing page? In a meeting room on a big screen?
These notes decide your words, your examples and even the frame shape.
Step 3: Pick one message
Now write the single sentence the viewer should remember. It should fit on a sticky note.
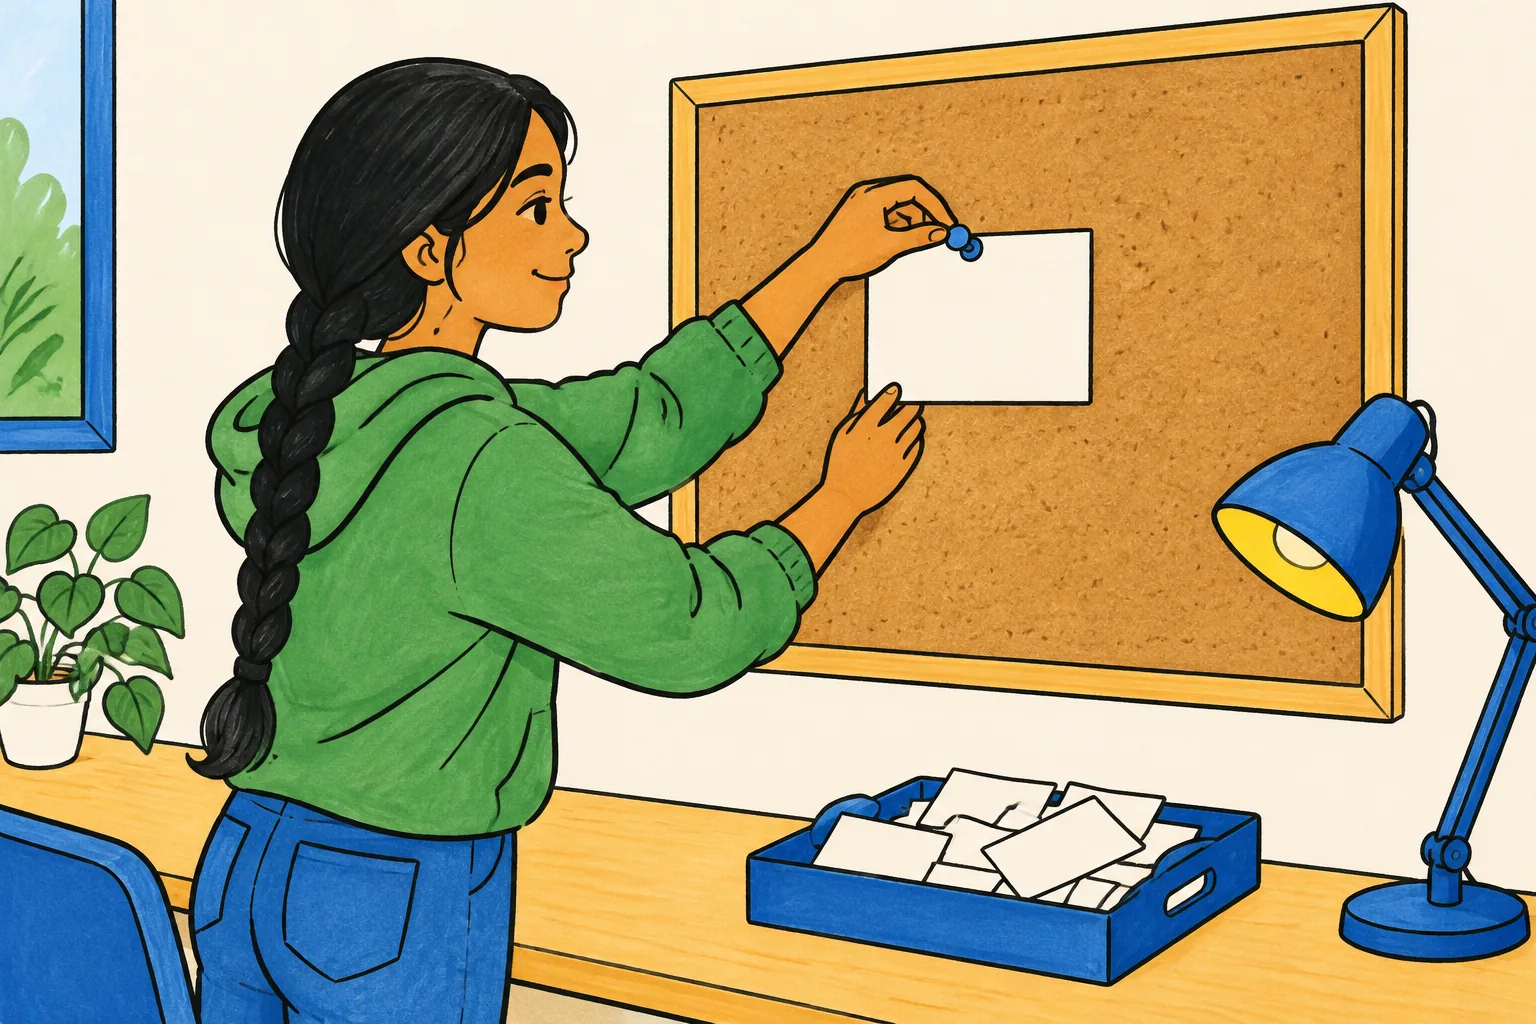
Most explainer videos fail here, not in the animation. The team has six things to say, the video says all six, and the viewer remembers none. Choose one; the others can be a second video or a page of text.
Test it on someone outside the project. If they can repeat it in their own words, it is clear enough.
Step 4: Write the script
Write the script before you think about pictures. It is far cheaper to fix a sentence than a scene.
A shape that works for most explainers:
- The situation the viewer recognises, in one or two sentences ("You cook dinner, and half an onion and some peelings are left over.")
- The idea, named plainly ("From March, food scraps go in a small green caddy, collected every week.")
- How it works, in two to four simple steps
- One concrete example with a real detail
- The next step, one action only
Write it the way you would say it across a table. Use "you". Keep sentences to around 10 to 15 words. Cut every sentence that does not serve the message from Step 3, even if it is true and you are proud of it.
Then read it aloud and time it. Speech runs at roughly 130 to 150 words a minute, so a one-minute explainer is about 140 words and a two-minute one about 280. Most first drafts are a third too long.
Step 5: Plan the visuals
Go through the script sentence by sentence and write next to each one what the viewer sees. This is your storyboard, and it can be a simple two-column table or boxes sketched on paper.
Three rules keep the pictures helpful:
- One idea per scene. When the voice moves to a new idea, the picture moves too.
- Show the thing, not a mood. "A small green caddy beside a kitchen bin" beats "a happy family".
- Picture and word arrive together. If the narrator says "caddy", the caddy should appear then, not ten seconds earlier.
If a sentence has nothing you could draw or show, it is usually too abstract. Rewrite it around an object, a person or an action. A rough sketch on paper is enough for most videos; nobody else needs to see it.
Then choose a style: whiteboard drawing for processes and reasons, motion graphics for products with numbers, character animation for stories. The simplest style that shows the idea is usually right.
Step 6: Add the voice
The voice carries most of an explainer video. Viewers forgive plain pictures far more readily than muddy or rushed sound.
You have three options:
- Record it yourself. Use a quiet room with soft furnishings, put the microphone close, and do a practice read first. Leave a short pause between sentences so the pictures have room.
- Hire a voice actor. Worth it for a flagship video that will run for years.
- Use an AI voice. Quick to change when the script changes, and available in many languages.
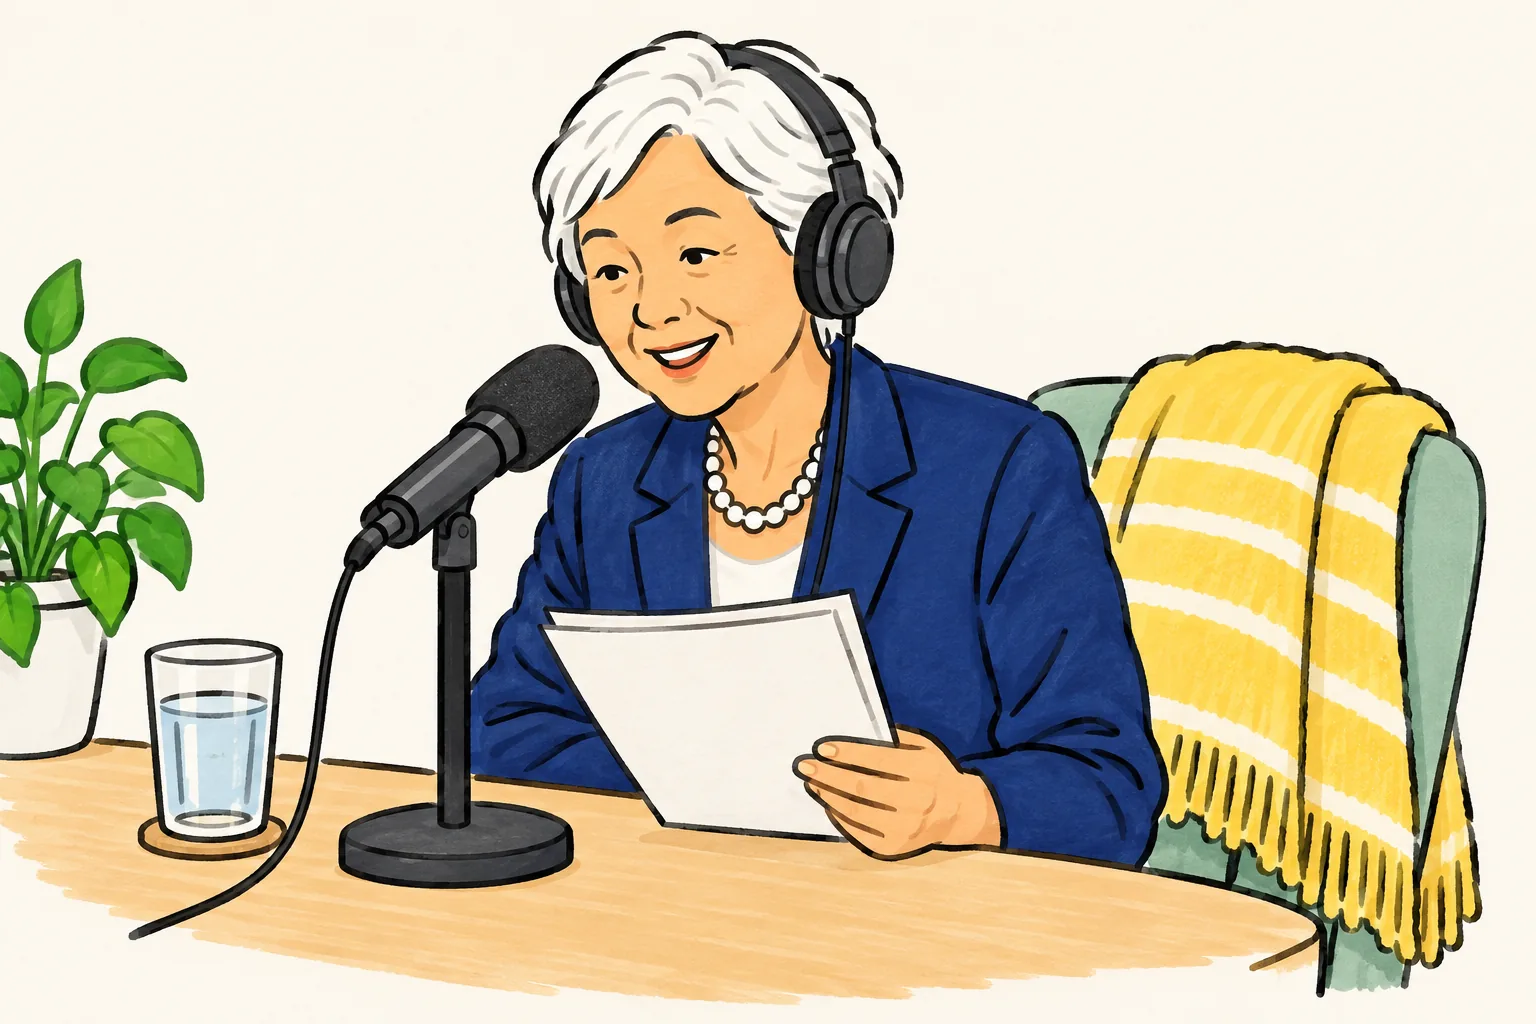
Match the voice to the viewer: calm for a worried customer, livelier for a social feed. Our voiceover guide covers pacing and recording in more detail.
Step 7: Choose the length and the frame
Let the message set the length, then cut to the shortest version that still works.
| Where it plays | Typical length | Frame |
|---|---|---|
| Homepage or landing page | 60 to 90 seconds | Wide 16:9 |
| Social feed or Reels | 30 to 60 seconds | Tall 9:16 or Square 1:1 |
| Product or help page, one feature | 60 seconds to 2 minutes | Wide 16:9 |
| Concept or lesson on YouTube | 2 to 5 minutes | Wide 16:9 |
Anything over two minutes needs a reason, such as a concept with several linked parts. Our article on short vs long explainer videos explains how to decide.
Step 8: Make the video
Once the script and storyboard are ready, you can hand them to an agency or a freelancer, build the scenes yourself in a DIY animation tool, or let an AI video generator turn the script into a finished video. Agencies suit a flagship video that must carry your brand for years; the DIY and AI routes suit videos you will change often.
Whichever route you take, keep the script from Step 4 as the master copy. Changes go into the script first, then into the video. What each route costs, and how to keep the price down, is covered in our explainer video cost guide.
Step 9: Publish, test and improve
Before it goes live, show the video to one person who matches your viewer and ask: "What was that about, and what would you do next?" If their answer does not match your sentence from Step 3, fix the script.
Then put it where the viewer meets the question it answers:
- On the page where people hesitate, close to the button you want them to press.
- In your email, as a thumbnail image that links to the video.
- On YouTube, with a title that matches what people search.
- On social, in the tall or square frame, cut to the first strong sentence.
Check the result against your goal from Step 1. Did trial bookings rise? Did fewer people phone with the same question? If not, the script is usually the thing to change.
Worked example: a food waste collection explainer
Here are the nine steps applied to a common real-world job: a local council introducing weekly food waste collection.
- Goal: after watching, a resident puts food scraps in the new caddy and leaves it out on collection day.
- Viewer: a busy household who has never separated food waste. Worried it will smell and be a hassle. Watches on a phone after a letter arrives.
- Message: "Scrape your food scraps into the green caddy, and put it out every Tuesday."
- Length and frame: about 60 seconds, Tall 9:16 for phones, plus Wide 16:9 for the council website.
Script (about 140 words):
After dinner, there's always something left. Peelings, a crust, the last of the rice. From March, those go in your new green caddy, not the black bin.
>
Here's how it works. Keep the small caddy in your kitchen. Scrape in any food: raw or cooked, meat, bones, tea bags, all of it. When it's full, tip it into the big outdoor caddy and close the lid.
>
Put the outdoor caddy at the kerb every Tuesday morning. It's collected weekly, so nothing sits for long.
>
Worried about smells? The lid locks, and weekly collection means scraps never wait more than seven days.
>
Your food scraps are turned into compost and energy, instead of filling the ground.
>
So: scrape it in the green caddy, and put it out on Tuesday.
Storyboard notes: a plate with leftovers; a small green caddy beside a kitchen bin; food items dropping in; tipping into a larger caddy; a kerb with a calendar page for Tuesday; a locked lid; a compost heap and a light bulb; the two actions side by side to finish.
Making an explainer video in KolaVid
If you would rather not animate scenes or record your own voice, KolaVid turns a typed prompt, your pasted script, a document (PDF, Word, PowerPoint or text file) or a web link into a narrated whiteboard video. Each drawing appears as the narrator says it, with one idea on each board.
For the example above, you would paste the script into the box and add one line about the viewer, such as "Explainer for residents, calm and practical, phones first". Then choose the frame (Wide 16:9, Tall 9:16 or Square 1:1), the Hand-drawn style, the length (1, 2, 3 or 5 minutes), a female or male voice and the narration language.
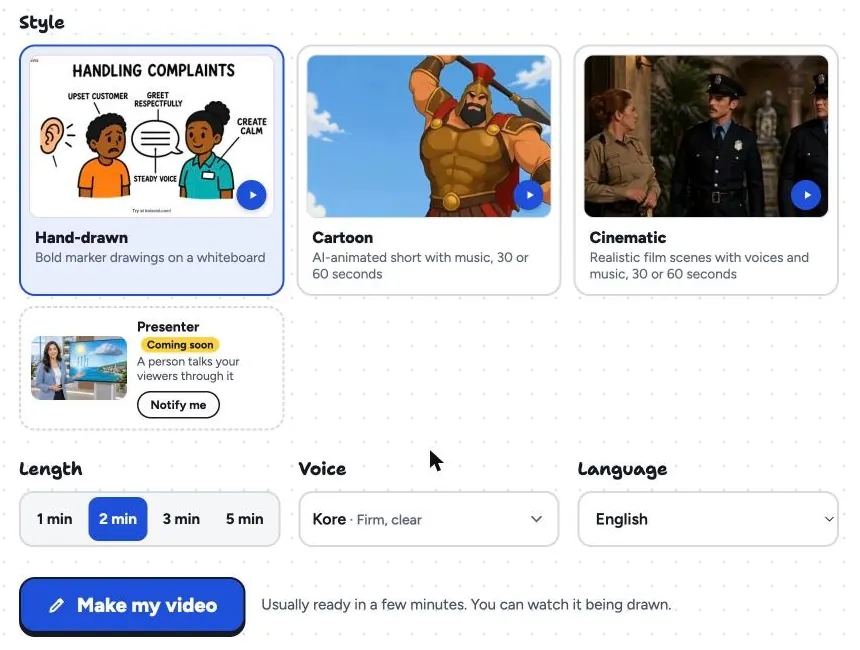
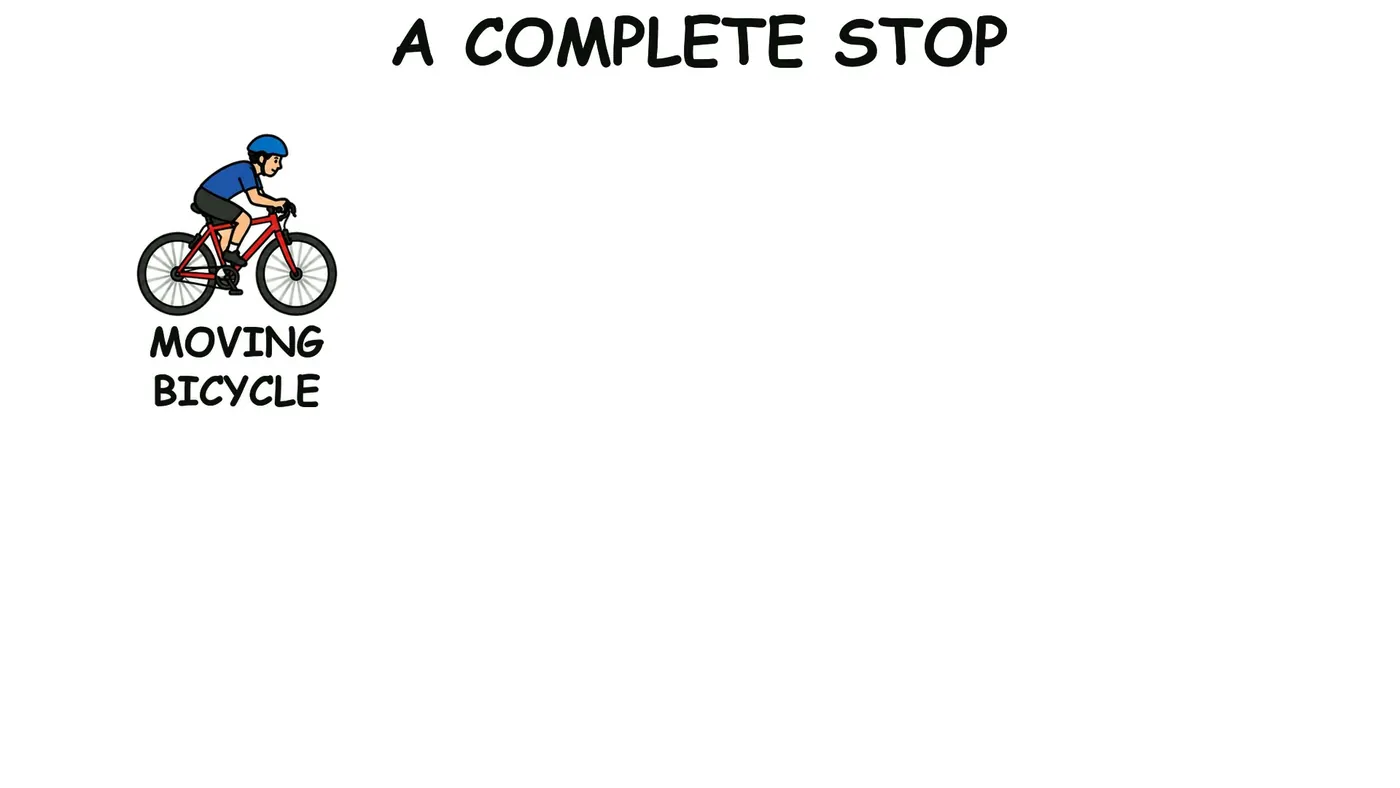
The video is usually ready in a minute or two, and you can watch it being drawn. Here is a board from a sample explainer on how bicycle brakes work, caught as the drawing for "moving bicycle" has just appeared, before the rest of the board is drawn in time with the voice.
Download the MP4 or share a link. Free videos run up to 2 minutes and carry a small KolaVid mark; paid plans go up to 5 minutes. There is no editing timeline, so to change a scene you edit the script and make the video again. The marketing page has more sample videos.
FAQ
How long should an explainer video be?
For a homepage or product page, 60 to 90 seconds is a good target. Social versions can be 30 to 60 seconds, and concept explainers for YouTube can run 2 to 5 minutes when the topic needs it. Time your script: about 140 words fills a minute.
What makes an explainer video good?
One clear message, a viewer who recognises their own situation in the first few seconds, pictures that match each sentence as it is spoken, and a single next step at the end. Polish matters far less than clarity.
Can I make an explainer video myself?
Yes. Writing the script is the skilled part, and you know your subject better than anyone you could hire. For the pictures and voice you can use a DIY animation tool or an AI generator instead of an agency.
Should an explainer video have music?
It can, quietly. If the viewer strains to hear the voice, turn the music down or take it out.
Start with one sentence
Write the sentence from Step 3 today, then the 140-word script around it. If you want to see it as a video without animating anything, a free KolaVid account includes enough credits for one 2-minute video, no card needed. Paste your script, pick your frame, and show the result to one real viewer.