Video Lesson Plan Template (With Two Examples)
A video lesson plan template you can copy, built on before, during and after viewing, with filled examples for a primary science and a secondary history lesson.
A video lesson plan is an ordinary lesson plan with the video placed at a planned moment and three phases around it: before viewing (give students a reason to watch), during viewing (pause at set points with one focused task), and after viewing (use the idea and check it landed). The template below sets that out on one page, and two filled examples show it working for a primary science lesson and a secondary history lesson.
The video itself is rarely the hard part. What decides whether students learn from it is what happens in the five minutes before they press play and the twenty minutes after. Copy the template, then read the examples to see how each box gets filled.
What makes a video lesson plan different
Show a video with no plan around it and most students treat it as a break. They watch, they enjoy it, and ten minutes later they cannot tell you what it said. A video lesson plan changes three things:
- Students know what they are watching for. One question, given before the video starts.
- The video stops. Two or three planned pauses, each with a short task, turn watching into thinking.
- The idea gets used. After viewing, students apply it to something new, so you can see who understood.
Keep the video short. For a single lesson, 2 to 5 minutes is plenty. If the only video you can find runs for 20 minutes, use the part you need and skip the rest.
The video lesson plan template
Copy this into your planning document and fill in each line.
``` VIDEO LESSON PLAN
Class / age: Subject: Lesson length: Topic: Learning objective (students will be able to...): Success criteria (how I will know):
THE VIDEO Title and source: Length: Section used (start - end): Why this video (what it shows that I can't easily show myself): Checked: [ ] accurate [ ] right level [ ] no ads or pop-ups [ ] works on the classroom screen
BEFORE VIEWING (5-10 min) Hook or question to open: What students already know (quick check): Key words to pre-teach (max 3): Viewing question (the one thing to watch for):
DURING VIEWING (video length + pauses) Pause 1 at __:__ Task: Pause 2 at __:__ Task: Pause 3 at __:__ Task: Note-catcher or viewing sheet: [ ] yes [ ] no
AFTER VIEWING (15-25 min) Answer the viewing question: Apply it (a new example, problem or source): Discussion or pair task: Check for understanding (exit ticket):
ADAPTATIONS Support (students who need more help): Stretch (students who finish early): Language support (key words, captions, home language): If the video won't play:
HOMEWORK / NEXT LESSON ```
Two lines people skip and later regret: "Why this video" and "If the video won't play." The first stops you using a video because it is there rather than because it teaches something you cannot show as well. The second saves the lesson when the projector or the school internet lets you down.
How to fill in each part
Before viewing
Start with a question or a short puzzle connected to students' lives, then find out what they already know. A show of hands, a mini whiteboard answer or a two-minute pair talk is enough.
Pre-teach no more than three key words. Students who are stopped by an unfamiliar word in the first minute miss everything after it, especially those learning in a second language.
Then give the viewing question: the one thing they should be able to answer when the video ends. Write it on the board and leave it there. "Watch for the moment the bike starts to slow down. What is causing it?" is a viewing question. "Pay attention" is not.
During viewing
Plan pauses at natural breaks, where one idea finishes and the next begins. At each pause, give one short task:
- Predict: "What do you think happens next?"
- Explain to a partner: "In one sentence, why did that happen?"
- Draw or label: add one part to a diagram on the viewing sheet
- Spot the link: "How does this connect to what we said at the start?"
Avoid asking students to write notes on everything. They end up copying words and missing the explanation. A viewing sheet with three gaps to fill is usually better than a blank page.
After viewing
Go back to the viewing question first and take answers. Then give students something the video did not show, so they have to use the idea rather than repeat it: a new example, a problem, a source, a "what if". Finish with a short exit ticket that maps straight onto your success criteria.
If you want more on choosing or making the video itself, our guide on how to make an educational video covers objectives, examples and structure for the video.
Filled example 1: primary science, forces and friction
This lesson fits the forces topic many primary curricula cover at ages 9 to 11.
``` VIDEO LESSON PLAN
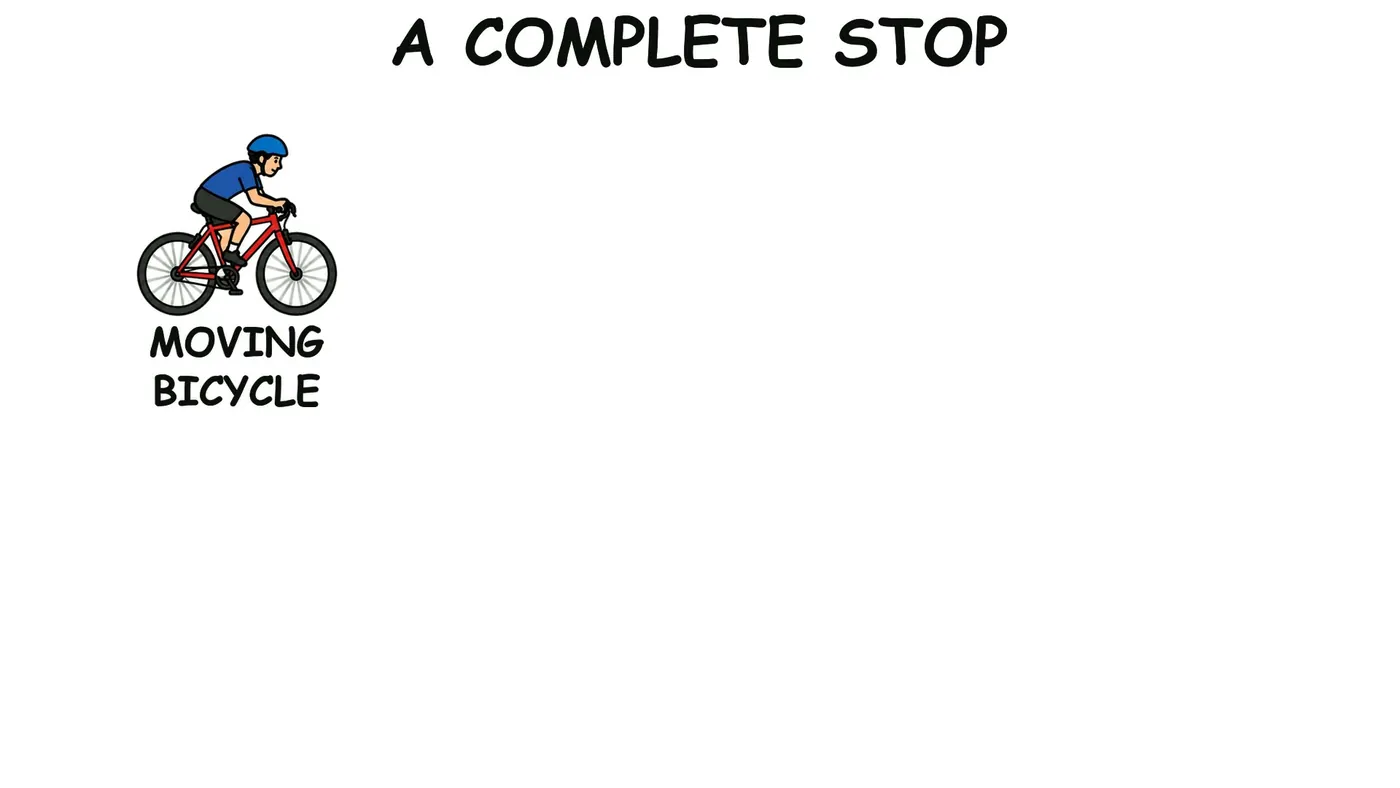
Class / age: 9-10 year olds Subject: Science Lesson length: 50 min Topic: Friction - how bicycle brakes stop a bike Learning objective: Students will be able to explain that friction between two surfaces slows a moving object, using bicycle brakes as the example. Success criteria: Students can (1) name the two surfaces that rub when a bike brakes, (2) say that friction slows the wheel, (3) predict that wet brakes take longer to stop the bike.
THE VIDEO Title and source: a short whiteboard explainer on how bicycle brakes work Length: 2 min Section used: whole video Why this video: shows the brake pad and rim close up, which is hard to see on a real bike from the back of the class. Checked: [x] accurate [x] right level [x] no ads [x] works on screen
BEFORE VIEWING (8 min) Hook: "Who has ridden a bike down a hill? What did you do to stop?" Quick check: pairs rub their hands together fast. What do they feel? (warmth) Key words: friction, surface, brake pad Viewing question: "When the bike slows down, what is rubbing against what?"
DURING VIEWING (2 min + pauses) Pause 1 at 0:40 (rider squeezes the lever) Task: predict, what moves now? Pause 2 at 1:20 (pads touch the rim) Task: tell a partner which two surfaces are rubbing. Note-catcher: bike wheel drawing with two boxes to label (pad, rim)
AFTER VIEWING (30 min) Answer the viewing question: take three answers; agree "pad rubs on rim". Apply it: toy car ramp test on three surfaces (wood, carpet, bubble wrap). Groups predict which surface stops the car soonest, then test. Discussion: "Why do cyclists take more care in the rain?" (wet rims, less grip, longer to stop) Exit ticket: "Friction happens when ___ rubs against ___. It makes the bike ___." Plus one drawing of where friction acts.
ADAPTATIONS Support: word bank on the table; labelled diagram to copy. Stretch: "Friction also makes heat. Where might the heat go when a bike brakes hard?" Language support: show the key words with pictures; replay the video once. If the video won't play: bring a real bike in, turn it upside down, spin the wheel and squeeze the brake.
HOMEWORK / NEXT LESSON Find two places at home where friction helps (shoes, door mat) and one where it gets in the way. Next lesson: air resistance. ```
What makes this work: the hand-rubbing check gives every child a feeling of friction before the word appears, the pauses fall exactly where something changes in the video, and the ramp test asks them to use the idea on cars and surfaces the video never mentioned.
Filled example 2: secondary history, the outbreak of the First World War
This lesson is for 13 to 14 year olds and asks a "how far" question, so the video sets up the events and the class does the arguing.
``` VIDEO LESSON PLAN
Class / age: 13-14 year olds Subject: History Lesson length: 60 min Topic: Was the assassination in Sarajevo the main cause of the First World War? Learning objective: Students will be able to explain how the assassination of Archduke Franz Ferdinand led to a wider war through the alliance system, and judge how important it was compared with longer-term causes. Success criteria: Students can (1) sequence the events of summer 1914, (2) explain the role of the alliances, (3) write a paragraph that weighs the assassination against one longer-term cause.
THE VIDEO Title and source: short explainer on the July Crisis of 1914 Length: 4 min Section used: 0:00 - 4:00 Why this video: turns five weeks of events into a clear chain students can sequence, freeing class time for the argument. Checked: [x] accurate [x] right level [x] no ads [x] works on screen
BEFORE VIEWING (10 min) Hook: "One shot in one city, and within weeks most of Europe was at war. How could that happen?" Quick check: recall the two alliance blocs from last lesson on mini whiteboards. Key words: alliance, ultimatum, mobilise Viewing question: "Why did a murder in Sarajevo not stay a local crisis?"
DURING VIEWING (4 min + pauses) Pause 1 at 1:00 (28 June 1914, the assassination) Task: who was killed, and why did Austria-Hungary blame Serbia? Pause 2 at 2:30 (Austria-Hungary declares war on Serbia, 28 July) Task: predict which countries join next, and why. Pause 3 at 3:30 (Germany invades Belgium; Britain declares war, 4 August) Task: add the last two events to the timeline. Note-catcher: blank timeline with five boxes
AFTER VIEWING (40 min) Answer the viewing question: build the chain on the board together. Apply it: groups get one card each for militarism, alliances, imperialism, nationalism and the assassination. Rank them from most to least important and be ready to defend the top choice. Discussion: "Without the alliances, would the assassination have led to a world war?" Exit ticket: one paragraph: "The assassination was / was not the main cause because..." using one piece of evidence from the video.
ADAPTATIONS Support: sentence starters for the paragraph; timeline with dates filled in. Stretch: "Which country could most easily have stopped the war in July 1914?" Language support: key words with definitions; captions on. If the video won't play: printed timeline cards for students to sequence.
HOMEWORK / NEXT LESSON Finish the paragraph. Next lesson: why the war did not end by Christmas. ```
Here the video carries the sequence of events so the lesson time goes on judgement, which is the skill a "how far" question asks for. If you teach history often, our piece on history storytelling with whiteboard videos has more on turning cause and consequence into a clear story.
Finding or making the right video
The plan only works if the video fits it: right length, right level, accurate, and showing what you need at the moment you need it. When you search for one, watch it all the way through before the lesson, note the timestamps for your pauses, and check for adverts or suggested videos that will appear on the classroom screen.
When nothing fits, making a short one yourself is often quicker than searching for another hour. KolaVid turns a typed prompt, your notes or a lesson document into a narrated whiteboard video in which each drawing appears as the narrator says it, one idea on each board. For the science example you might type: "Explain to 9-year-olds how bicycle brakes use friction to stop a bike. Use one example, riding down a hill and squeezing the brakes. End with one sentence they can write in their books."
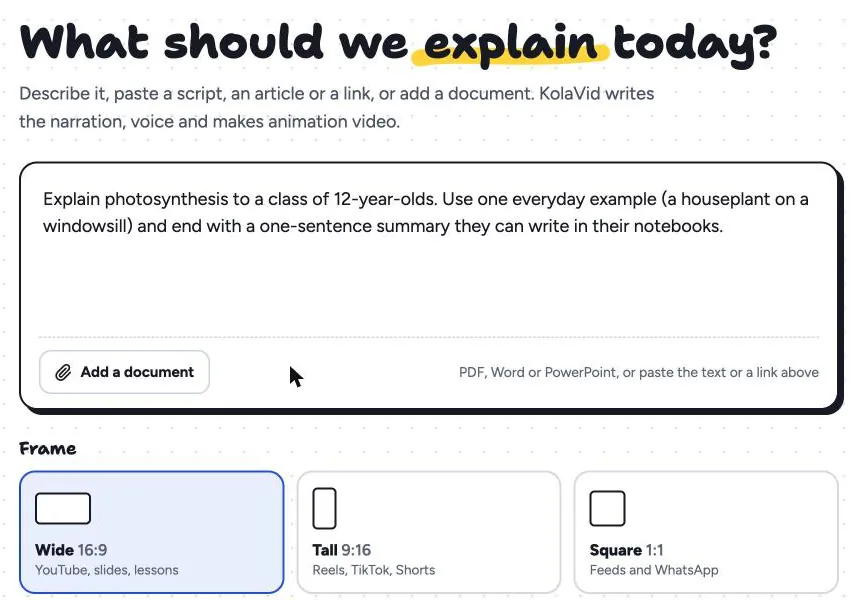
You choose the length (1, 2, 3 or 5 minutes), the voice and the narration language, and the video is usually ready in a minute or two. Because you wrote the prompt, you already know where the natural pauses fall. Free videos run up to 2 minutes, and a free account includes enough credits for one. Whiteboard videos come with captions in the narration language, turned on with CC; if your class needs them, note that in the "Language support" line. The teachers page has sample lesson videos.
Adapting the template
- For a flipped lesson, move "Before" and "During" to homework and keep "After" for class. Our guide to flipped classroom videos covers checking that students watched.
- For younger pupils, use one pause, not three, and make every task spoken or drawn.
- For mixed-language classes, pre-teach key words with pictures, play the video twice, and let pairs discuss in their home language before answering in the language of the lesson.
- For revision, run the plan backwards: the exit ticket first, then the video only for students who could not answer it.
More ideas for where short videos fit in a teaching week are in our list of educational video ideas for teachers.
FAQ
How long should the video be in a video lesson plan?
For one lesson, 2 to 5 minutes usually works best. It leaves time for the before and after activities, which are where most of the learning happens. If a longer video is the only good one, plan to show only the section you need.
How many times should I pause the video?
Two or three pauses for a 4-minute video, at the points where one idea ends and the next begins. For younger children or a short 2-minute video, one pause is enough.
Should students take notes while watching?
Give them a short viewing sheet instead: a diagram to label, a timeline with gaps or three questions. Free note-taking tends to turn into copying words while the explanation goes past.
What if some students cannot see or hear the video well?
Turn captions on where the platform offers them, seat students close to the screen and speakers, and give a printed version of the key points. Plan this in the adaptations section before the lesson, not during it.
Plan one lesson this week
Copy the template, pick next week's hardest concept and find or make a short video for it. Fill in the viewing question first; once that is clear, the pauses and the exit ticket usually write themselves.